Cycling Descending Techniques: Master Fast and Safe Downhill Riding
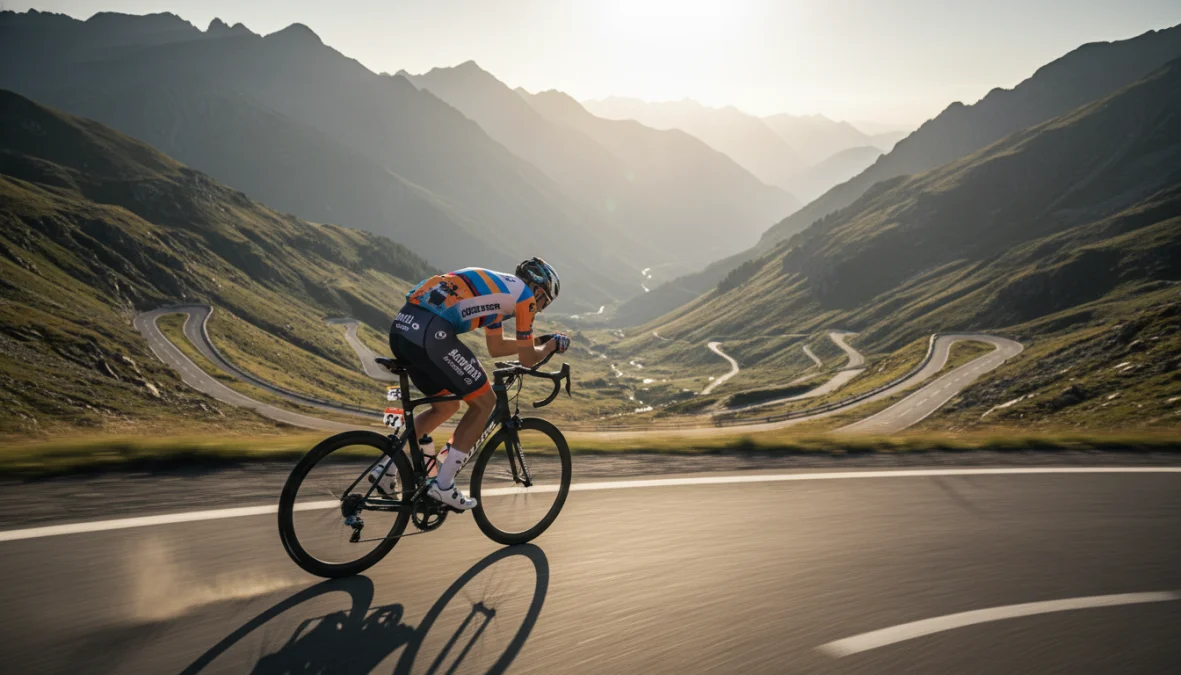
There’s nothing quite like the rush of a fast descent—wind in your face, landscape blurring past, your bike carving through corners with precision. But let’s be honest: descending can also be intimidating. One moment of hesitation, a white-knuckle grip on the brakes, or poor body positioning can turn an exhilarating ride into a nerve-wracking experience. Mastering cycling descending techniques isn’t just about going fast—it’s about control, confidence, and safety. Whether you’re tackling winding mountain roads or technical singletrack, understanding proper descending on a bike transforms fear into flow. Let’s break down the essential skills that’ll have you conquering downhills like a pro.
Essential Body Position and Bike Setup for Descending
The foundation of confident cycling descending techniques starts with proper body positioning. Your body is the suspension system, and getting this right makes everything else easier. When descending on a bike, drop your heels and keep your weight centered over the pedals with the cranks horizontal. Lower your center of gravity by bending your elbows and knees—think of yourself as a shock absorber, ready to react to terrain changes. Your chest should be low, almost hovering above the handlebars on steep sections.
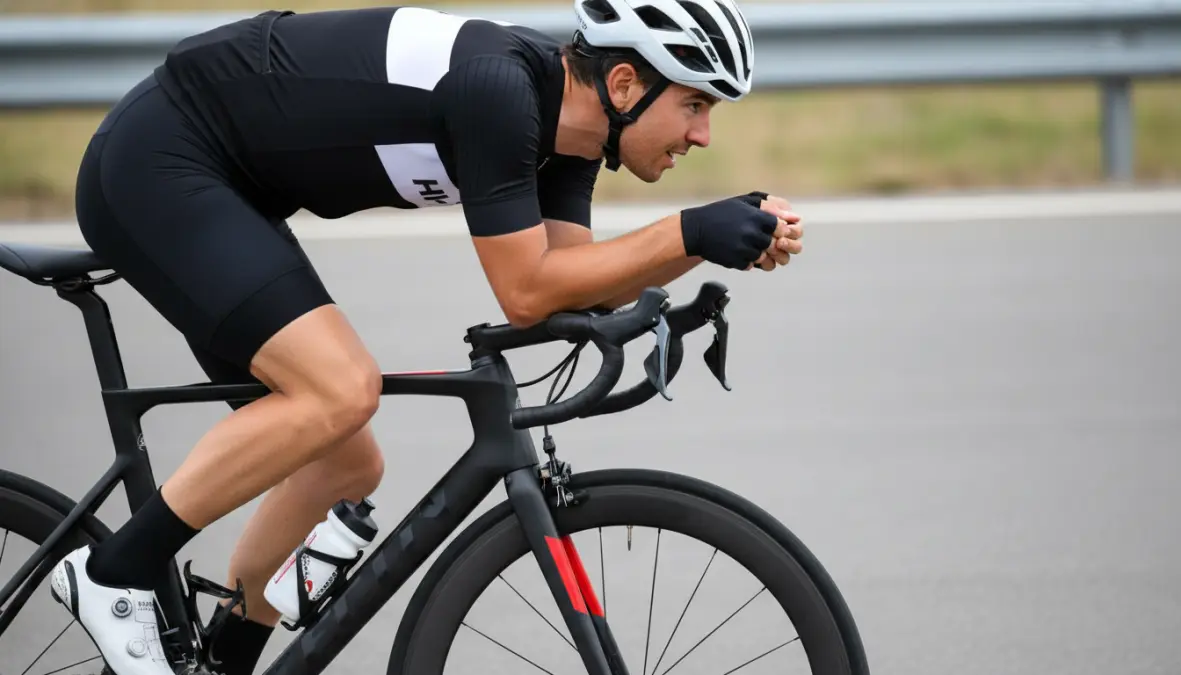
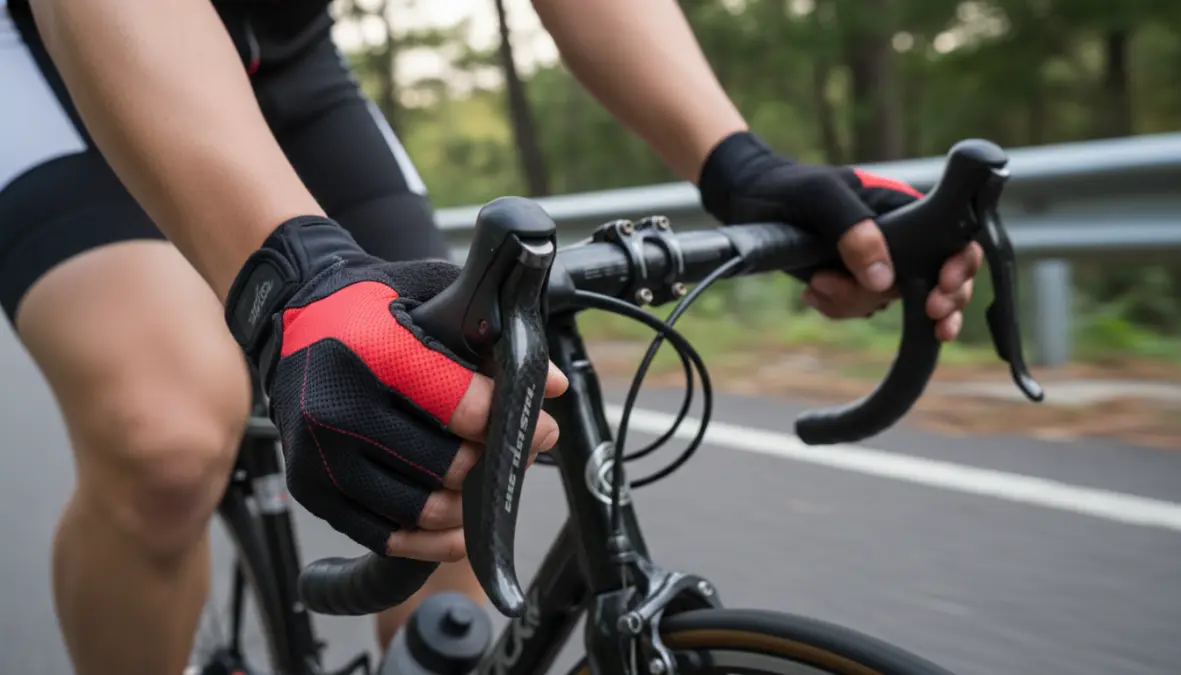
For road bike descending, hand position matters enormously. Keep your hands on the drops for better control and aerodynamics. This lower position improves stability and gives you maximum braking power. Your fingers should rest lightly on the brake levers, ready but not gripping. Meanwhile, mountain bike descent techniques require a more aggressive stance—elbows out, chest closer to the stem, and on technical terrain, your butt should hover behind the saddle to shift weight backward.
Weight distribution between your front and rear wheels is critical for traction and control. On moderate descents, maintain a neutral position. On steep grades, shift your weight back to prevent going over the handlebars, but not so far that your front wheel loses grip. Always look ahead—where your eyes go, your bike follows. Scan 10-20 meters ahead to anticipate corners, obstacles, and surface changes.
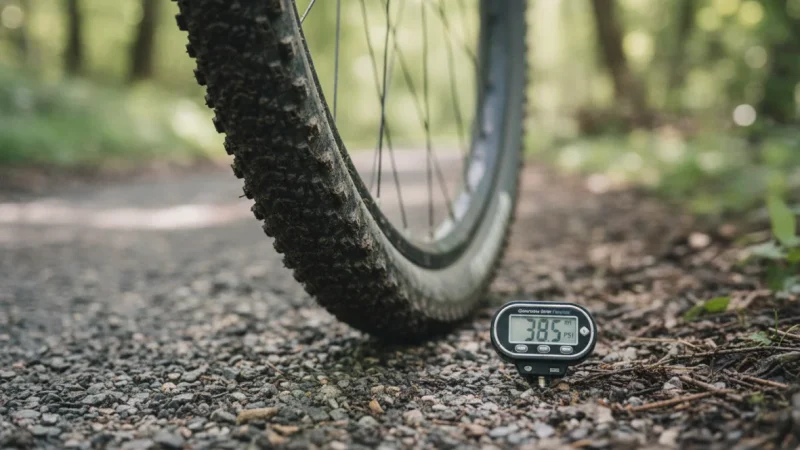
Before any descent, do a quick bike check. Test your brakes, ensure tire pressure is appropriate for conditions, and if you have a dropper post on your mountain bike, drop it fully. Proper setup through bike fitting also plays a crucial role in descending comfort and control.
Mastering Speed Control and Braking Techniques
Knowing how to brake correctly when descending separates confident riders from terrified ones. The golden rule: use both brakes, but not equally. Your front brake provides roughly 70% of your stopping power, while the rear prevents skidding and adds stability. Apply them progressively and smoothly—never grab them suddenly unless it’s an emergency.
For cycling downhill safety, brake before corners, not during them. This is perhaps the most important principle for fast downhill cycling. As you approach a turn, scrub speed while the bike is still upright, then release the brakes as you lean into the corner. Braking mid-corner reduces traction and can cause slides or loss of control. If you must brake in a corner, apply gentle rear brake pressure only.
The concept of “feathering” or pulsing your brakes helps with downhill cycling tips: instead of constant braking (which overheats rims or rotors), apply firm pressure to reduce speed, then release briefly before applying again. This technique maintains control without compromising braking power. In wet conditions, start braking earlier—stopping distances increase dramatically when roads are slick, and you need extra distance to modulate speed safely.
Strategic speed management means knowing when to let the bike run and when to stay conservative. On open, straight sections with good visibility, allow gravity to work. On technical sections with blind corners or poor surfaces, dial it back. Building this judgment comes with experience, much like developing optimal cadence through training.
Cornering Techniques for Fast and Safe Descents
Cornering on descents is where art meets physics. The racing line—outside, inside, outside—maximizes your radius and allows higher cornering speed. Approach from the outer edge of your lane, clip the apex at the inside, then drift back outside as you exit. This line smooths out the turn and reduces the lean angle required.
Countersteering initiates turns: gently push the inside handlebar forward to tip the bike into the lean. Once committed, look through the corner toward your exit point—never fixate on obstacles or the edge of the road. Press down firmly on your outside pedal (the one toward the outside of the turn) to lower your center of gravity and increase tire grip.
The debate of bike lean versus body lean depends on conditions. On smooth pavement, lean the bike more than your body for better tire contact. On loose or technical surfaces, keep the bike more upright while leaning your body into the turn. For hairpin bends, brake hard before the turn, then commit fully—hesitation mid-corner is dangerous. Sometimes you’ll need to take a wider, slower line for safety, and that’s perfectly fine.
Common Mistakes and Safety Tips for Downhill Cycling
Even experienced riders make mistakes when learning proper cycling descending techniques. The most common error? Looking at your front wheel instead of ahead. This tunnel vision prevents you from planning your line and reacting to changes. Train yourself to look where you want to go, not where you are.
Tension is another confidence killer. White-knuckling your handlebars creates rigid bike handling skills and amplifies every bump. Instead, maintain a firm but relaxed grip, letting your bent arms and legs absorb terrain. Delayed braking—waiting too long to scrub speed—forces panic stops that compromise control. Brake early, brake smoothly.
For confidence building, start with familiar descents where you know every corner. Gradually increase speed as your skills improve. Practice on dry days before tackling wet conditions. Just as you wouldn’t jump into advanced training without building your base fitness, don’t rush your descending progression.
Mental approach matters enormously in overcoming fear of cycling downhill. Accept that nervousness is normal—even pros feel it. Focus on technique rather than speed. Ride within your limits, especially when fatigue sets in. Remember that conservative descending is smart descending.
Pre-descent checklist for cycling downhill safety:
- Check brake function and pad wear
- Inspect tires for cuts, pressure, and tread
- Secure all bottles, pumps, and gear
- Plan your line by previewing corners if possible
- Ensure proper nutrition—maintain energy like timing your carbohydrate intake for performance
- Adjust clothing layers to prevent overheating

FAQ
What is the correct body position when descending on a bike?
The proper body position for cycling descents involves keeping your weight centered over the pedals with cranks horizontal, elbows and knees bent to act as suspension, and chest low. On road bikes, hands should be on the drops. Shift your weight backward on steep sections while maintaining enough pressure on the front wheel for steering control.
How do you brake safely when cycling downhill?
Use both brakes with emphasis on the front (about 70% front, 30% rear), applying them progressively before corners rather than during them. Feather or pulse the brakes instead of constant pressure to prevent overheating. In wet conditions, start braking earlier and apply gentler pressure to avoid skidding.
What’s the difference between road bike and mountain bike descending?
Road bike descending emphasizes aerodynamics and smooth lines on paved surfaces, with hands in the drops and a lower, more streamlined position. Mountain bike descent techniques require more aggressive weight shifts, especially moving behind the saddle on steep or technical terrain, with wider bars providing more control over rough surfaces.
How can I overcome fear of descending?
Build confidence gradually by practicing on familiar descents in good conditions. Focus on mastering one technique at a time—braking, then cornering, then line selection. Ride with more experienced descenders to learn, and remember that controlled, conservative descending is always better than riding beyond your comfort zone. Mental preparation and positive visualization also help significantly.
Should I pedal when going downhill?
On moderate descents, gentle pedaling in an appropriate gear maintains momentum and keeps your legs engaged. On steep or technical descents, keep pedals horizontal and stop pedaling to maintain proper weight distribution and allow reactive body movements. The aerodynamic position for fast descents prioritizes stability over pedaling efficiency.
Mastering descending transforms cycling from merely climbing mountains to truly conquering them—in both directions. These cycling descending techniques require practice, patience, and progressive skill development. Start conservatively, focus on fundamentals like proper braking and body position, and gradually build speed as your confidence grows. Every descent is an opportunity to refine your bike handling skills and expand your capabilities. Whether you’re transitioning from indoor to outdoor riding or simply looking to improve, these techniques will make you a more complete, confident cyclist. Now get out there and enjoy the descent—you’ve earned it after that climb!