How to Bunny Hop on a Bike: Complete Tutorial for MTB and Gravel Riders

You’re cruising down a trail when suddenly—bam—there’s a rock, a root, or a pothole right in your path. Do you slam on the brakes and risk losing momentum? Nope. If you know how to bunny hop on a bike, you simply lift both wheels and float right over it like it’s no big deal. This essential bike handling skill isn’t just for show—it’s a game-changer for navigating trail obstacles, protecting your wheels from damage, and riding with confidence on any terrain.
What Is a Bunny Hop and Why Every Rider Needs This Skill
A bunny hop is a bike jump technique where you lift both wheels off the ground simultaneously without using a ramp. It’s pure technique—no external help needed. Whether you’re riding a mountain bike bunny hop over jagged rocks or executing a gravel bike bunny hop to clear a drainage channel, this move keeps you rolling smoothly.
The practical benefits are massive. First, you protect your rims and tires from impacts that could cause flats or damage. Second, you maintain speed and flow instead of braking before every obstacle. Third, it dramatically improves your overall bike control—once you master the bunny hop, you’ll notice better balance, timing, and coordination in all your riding.
While the core technique is similar across bike types, there are differences. MTBs with their slacker geometry and wider handlebars offer more leverage and forgiveness. Gravel bikes, being lighter but with more road-oriented geometry, require slightly more finesse. Both can bunny hop effectively—it’s just a matter of adapting your technique to your machine. If you’re choosing between bikes, check out our guide on gravel bike vs road bike to understand how geometry affects handling.
Bunny Hop Step by Step: Mastering the Technique
Learning how to bunny hop on a mountain bike for beginners can feel intimidating, but breaking it into clear phases makes it totally achievable. This bunny hop tutorial will walk you through the exact progression. Remember: start small, practice consistently, and gradually increase height. If you’re wondering about how to practice bunny hop at home, a flat driveway or parking lot works perfectly—just draw a chalk line to hop over.
Body Position and Setup
Before attempting your first hop, nail down your starting position. Stand on your bike with pedals platform level (at 3 and 9 o’clock), knees and elbows slightly bent, and your weight centered over the bike. You should be in what cyclists call the “attack position”—ready to move dynamically in any direction.
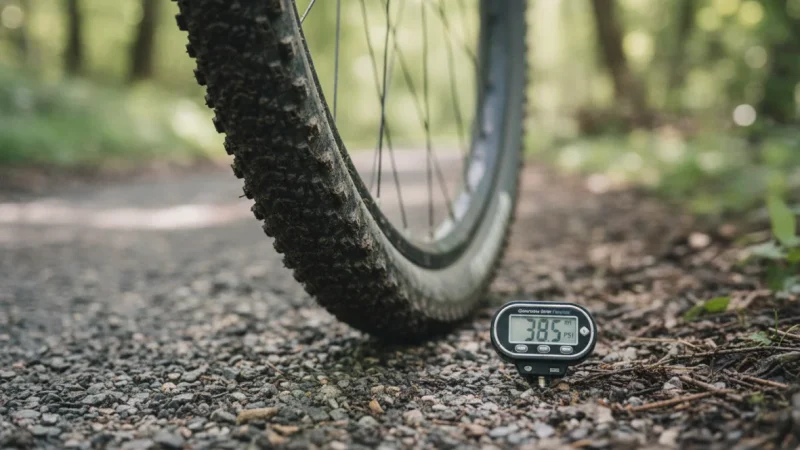
Your speed matters too. Going too slow makes it harder to lift the bike; too fast and you lose control. For beginners, a slow jogging pace is ideal. Keep your eyes looking ahead at where you want to go, not down at your wheel. As for bike setup, slightly lower tire pressure (within manufacturer recommendations) gives you more grip and pop. If you’re unsure about proper bike position fundamentals, our bike fitting guide covers essential positioning principles.
The Four-Phase Bunny Hop Motion
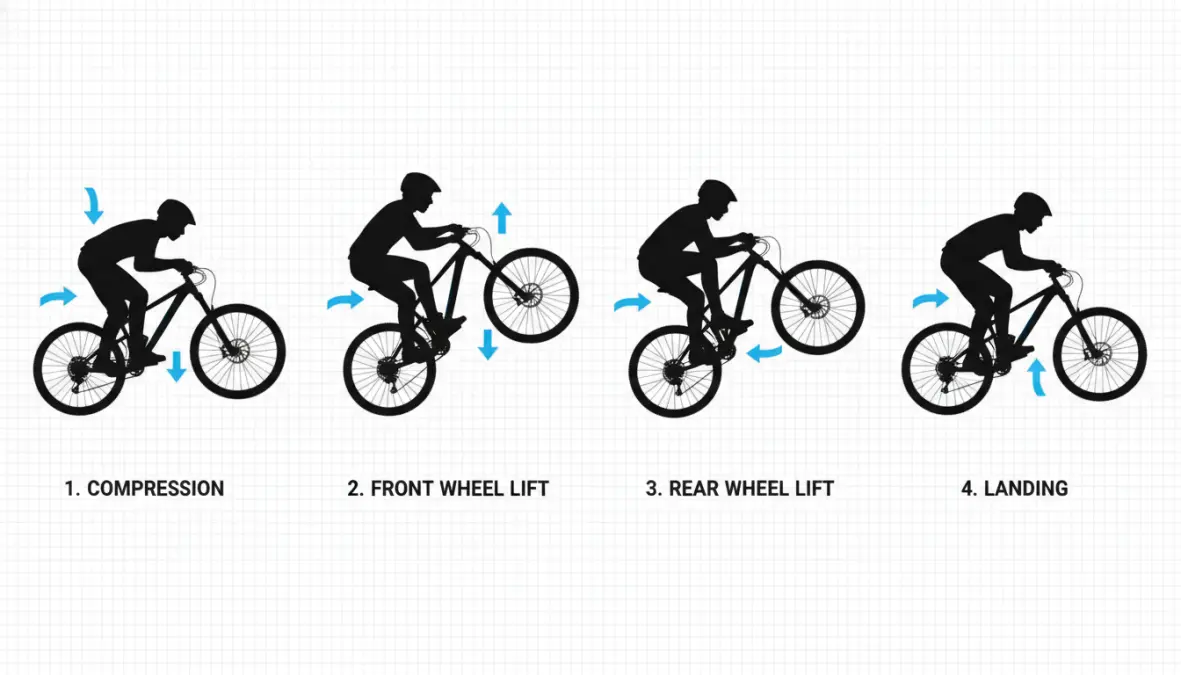
Phase 1: Compression. This is your loading phase. Crouch down by bending your knees and elbows, compressing your suspension (if you have it) or your body if you’re on a rigid bike. Think of yourself as a spring coiling up—this stored energy is what powers your hop. Push your weight down through the pedal platform and handlebars for about half a second.
Phase 2: Front Wheel Lift. Explode upward while simultaneously pulling the handlebars toward your chest. This isn’t just an arm pull—your whole body extends upward. Your hips drive back slightly as the bars come up, creating that distinctive front wheel lift. The bike should start to pivot around the rear axle. This motion is similar to a manual technique, but more explosive and with a different goal.
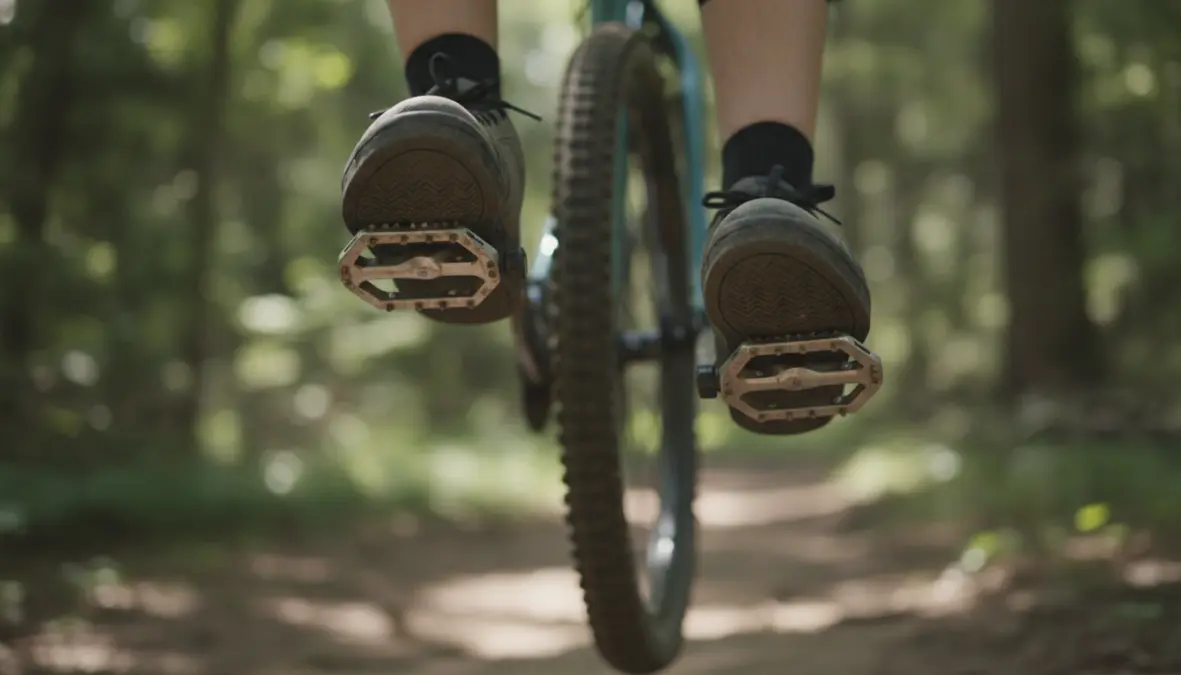
Phase 3: Rear Wheel Lift. Here’s where the magic happens. As your front wheel reaches its peak height, push the handlebars forward and slightly down while simultaneously pulling your feet up. If you’re on flat pedals, use a “scooping” motion—your toes hook under the pedals. With clipless pedals, you literally pull up. The key is this forward push of the bars combined with the leg tuck—that’s what creates the rear wheel lift. Your knees should come up toward your chest.
Phase 4: Landing. As gravity brings you back down, prepare to absorb the impact. Extend your legs and arms slightly before contact, then compress again as both wheels touch down (ideally simultaneously or rear-first). This bike lift technique protects your joints and maintains control. Keep your weight centered and be ready to pedal away smoothly.
Common Mistakes and Pro Tips for Quick Progression
When learning the mountain bike bunny hop, most riders make predictable errors. The biggest one? Pulling only on the handlebars without using leg drive. This creates a weak, low hop that barely clears anything. Remember: bike jump technique requires full-body coordination, not just upper-body strength.
Another common bunny hop mistake to avoid is skipping the compression phase. Without loading your suspension or body first, you have no power source for the upward explosion. It’s like trying to jump high without bending your knees first—physically impossible.
Timing issues plague beginners too. Many riders pull the rear wheel before the front reaches peak height, resulting in an awkward, nose-diving motion. The sequence matters: compress, front up, rear up, land. Keep this rhythm in your head.
Looking down at your front wheel is another progress killer. Your bike goes where you look, so keep your eyes on the target—the spot beyond the obstacle where you want to land. This also helps with obstacle clearance judgment.
Here’s the easiest way to learn bunny hop: practice the components separately first. Spend time on manual technique to master front wheel lifts. Practice rear wheel lifts while rolling slowly. Then combine them. Start with a small stick, then progress to a water bottle, then a low curb. Track your progress—how long does it take to learn bunny hop? Most riders can clear small obstacles within 2-3 weeks of dedicated practice, with significant improvement over 2-3 months.
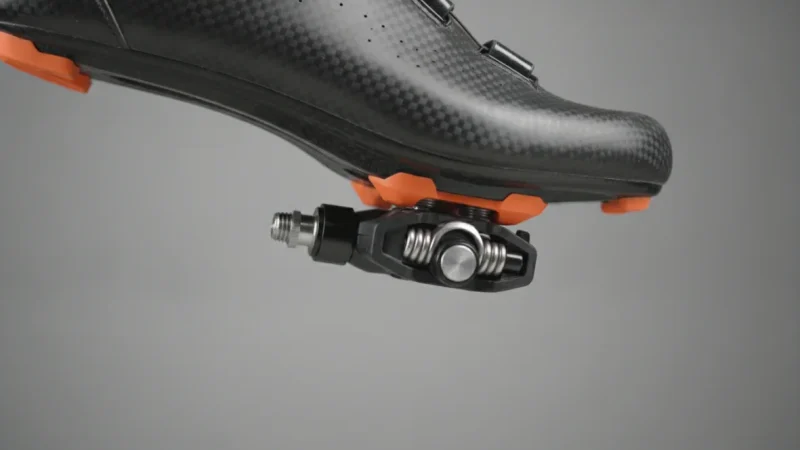
Wondering about bunny hop without clipless pedals? Absolutely possible. Flat pedals actually teach better technique since you can’t cheat by just pulling up. You’ll develop that crucial scooping motion and proper weight transfer. Once you nail it on flats, clipless just adds a bit more height potential.
If you’re asking how to bunny hop higher on a bike, the answer is progressive overload and explosive power. Once the technique is solid, work on your compression depth and upward explosion speed. Strength training helps too—check out our home gym guide for exercises that build cycling-specific power.
The differences between MTB and gravel bunny hops come down to bike characteristics. Gravel bikes are lighter, which helps, but they have less handlebar leverage and a more stretched-out position. You’ll need slightly more precision and may not achieve the same heights as on an MTB, but the technique remains fundamentally the same.
FAQ: Bunny Hop Questions Answered
How high should a beginner bunny hop be? Don’t worry about height initially—focus on technique. Successfully clearing a 2-3 inch obstacle with proper form is better than awkwardly stumbling over something 6 inches high. Most beginners comfortably clear 4-6 inches after a few weeks of practice.
Can you bunny hop a gravel bike? Absolutely! Gravel bikes can bunny hop effectively, though the technique requires slightly more precision due to geometry differences. The lighter weight actually helps, making it easier to get airborne once you’ve mastered the motion.
Do I need clipless pedals to bunny hop? No. Many riders learn better on flat pedals since they force proper technique rather than relying on pulling up. The scooping motion you develop on flats translates to more explosive hops when you eventually switch to clipless.
How long does it take to learn? With consistent practice (3-4 sessions per week), most riders can execute basic bunny hops within 2-3 weeks. Achieving consistent height and applying it confidently on trails typically takes 2-3 months. Don’t rush—muscle memory takes time.
Mastering the bunny hop opens up a whole new dimension of riding. You’ll flow through technical sections faster, protect your equipment better, and ride with newfound confidence. Start practicing today—even 10 minutes in your driveway makes a difference. Before you know it, you’ll be floating over obstacles like they’re not even there. Keep your bike in top shape with our maintenance schedule, and get out there and hop!