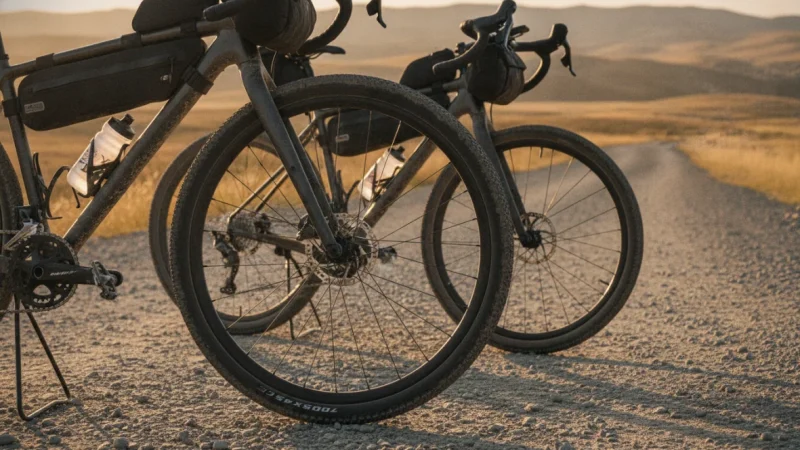
Gravel Bike Tire Pressure Guide: Find Your Perfect PSI for Speed and Comfort
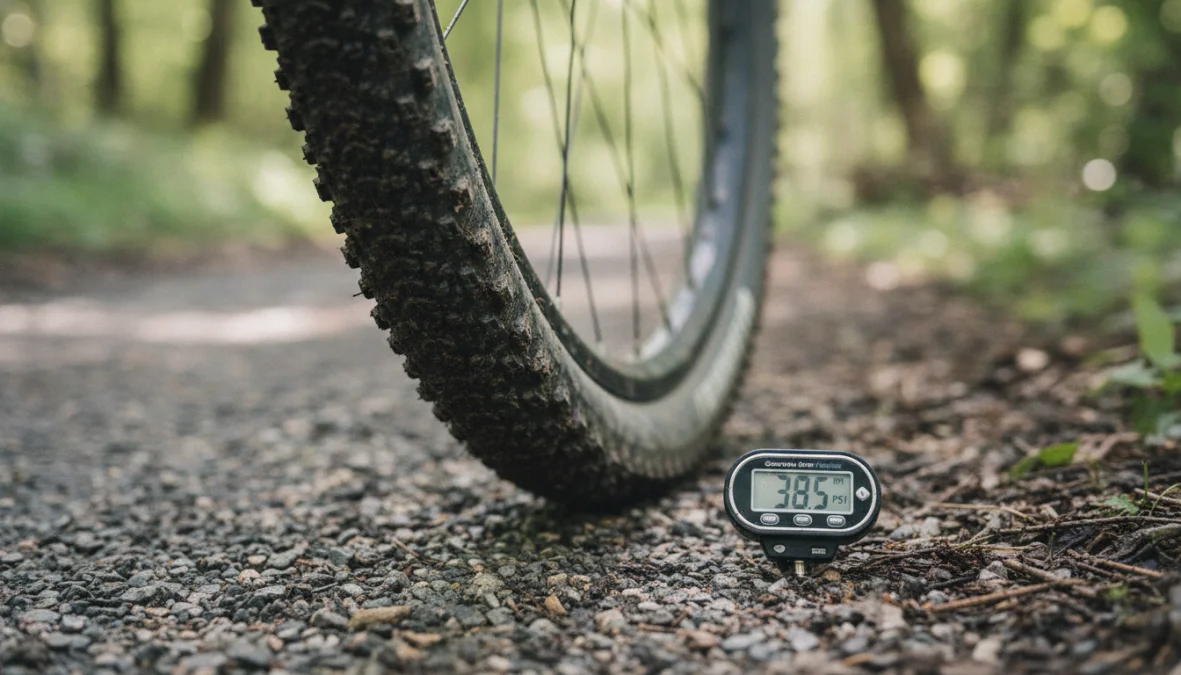
You’re out on a gravel ride, hitting a chunky section, and suddenly every rock feels like it’s rattling your bones. Or maybe you’re sliding out on loose corners like you’re on ice. Chances are, your gravel bike tire pressure isn’t dialed in. Getting your PSI right is one of those small tweaks that makes a massive difference—it affects everything from comfort and grip to speed and puncture protection. Unlike road cycling where you pump hard or mountain biking where you run super low, gravel sits in this sweet spot that requires a bit more finesse. Let’s figure out your perfect pressure so you can ride faster, smoother, and with more confidence on any terrain.
Understanding Gravel Bike Tire Pressure Fundamentals
Why does gravel bike tire pressure matter so much? Because gravel riding throws everything at you—smooth pavement, hardpack dirt, loose gravel, mud, sand, and everything in between. Your tire pressure determines how your bike handles these constantly changing surfaces. Too high, and you’ll bounce off every pebble, lose traction on loose sections, and arrive home feeling beaten up. Too low, and you risk pinch flats (if you’re running tubes), squirmy handling, and slower rolling on firm surfaces.
The typical tire pressure for gravel riding ranges from about 25 to 50 PSI, which sits between road bike pressures (80-100+ PSI) and mountain bike pressures (18-25 PSI). This middle ground gives you the suspension effect gravel tires provide—enough cushion to absorb vibrations and maintain grip, but enough support for efficient pedaling. The beauty of gravel is this versatility, but it also means there’s no one-size-fits-all number.
Several key factors influence your ideal gravel bike psi recommendations. First, your body weight plus gear—heavier riders need more pressure to prevent the tire from squishing too much. Second, tire width matters significantly due to the tire width and pressure relationship: wider tires (45mm+) can run lower pressures than narrower ones (35mm) while maintaining the same contact patch and support. Third, tubeless versus tubed setups make a huge difference. Tubeless gravel tire pressure can typically run 5-10 PSI lower than tubed tires because there’s no inner tube to pinch against the rim. Finally, terrain type dictates adjustments—what works on hardpack doesn’t work in sand. If you’re curious about the broader differences in bike types and their setups, check out this comparison between gravel and road bikes.
How to Calculate Your Optimal Gravel Tire Pressure
Finding your optimal gravel tire pressure isn’t guesswork—there are practical formulas and methods that get you in the ballpark, then you fine-tune from there. Many riders wonder how to calculate gravel bike tire pressure without endless trial and error. Let’s break it down into actionable steps.
The Weight and Tire Width Formula
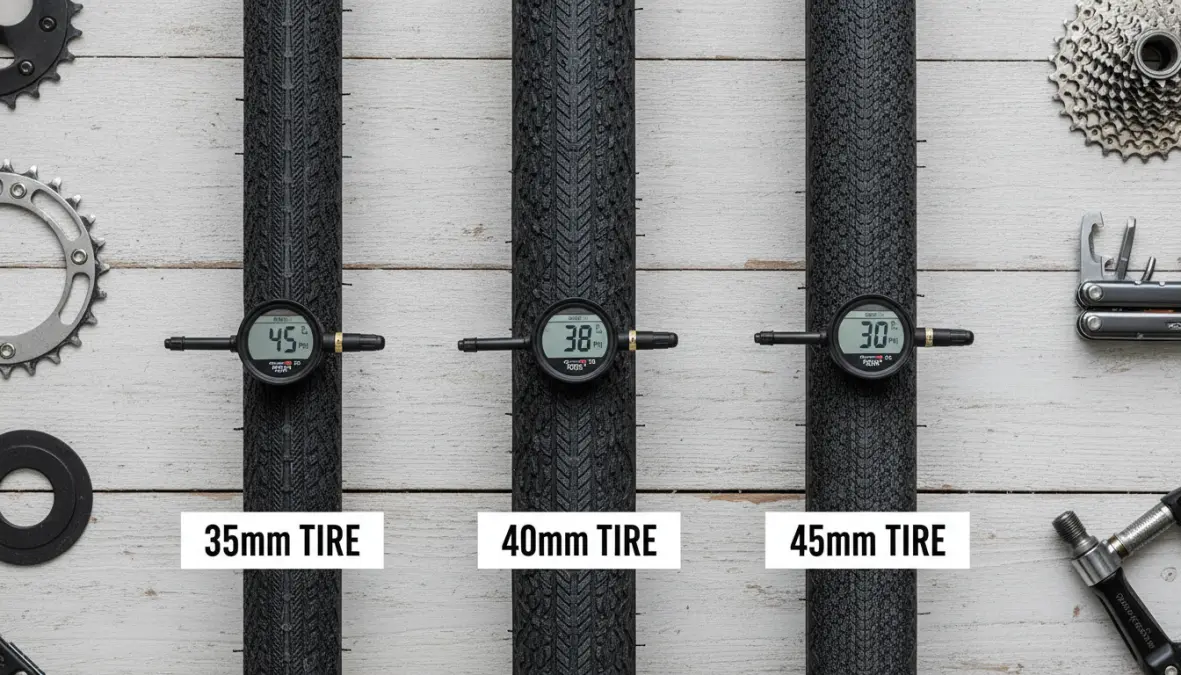
The basic formula starts with your total system weight (you plus bike plus gear) and tire width. A simple starting point: for tubeless setups, aim for roughly 1 PSI per kilogram of system weight for 40mm tires, then adjust for different widths. For example, a 75kg rider on a 10kg bike with 5kg of gear (90kg total) would start around 30-32 PSI for 40mm tubeless tires. For tubed tires, add 5-8 PSI to these numbers.
Here’s a practical gravel tire pressure chart to get you started:
- 60kg rider (70kg total system weight): 35mm tubeless (28-30 PSI), 40mm tubeless (25-27 PSI), 45mm tubeless (22-24 PSI)
- 75kg rider (85kg total system weight): 35mm tubeless (32-35 PSI), 40mm tubeless (28-30 PSI), 45mm tubeless (25-27 PSI)
- 90kg rider (100kg total system weight): 35mm tubeless (38-42 PSI), 40mm tubeless (33-36 PSI), 45mm tubeless (29-32 PSI)
When asking what psi for 40mm gravel tires, these numbers are your baseline. Remember that rim width compatibility also plays a role—wider internal rim widths allow you to run slightly lower pressures safely. If you’re setting up tubeless for the first time, this complete tubeless setup guide walks through the entire process including tubeless sealant setup.
Terrain-Based Adjustments and Fine-Tuning
Your baseline pressure is just the starting point. Terrain-specific tire pressure adjustments are where the magic happens. For smooth asphalt sections, add 2-5 PSI to your baseline for better rolling resistance gravel bikes efficiency. On compact gravel—the classic gravel road surface—stick with your baseline. When you hit loose or sandy gravel, drop 3-5 PSI to increase your contact patch and prevent that floating, sketchy feeling. In muddy conditions, go even lower (minus 5-8 PSI) to let the tire conform around obstacles and shed mud better.
The gravel bike tire pressure front vs rear question is important: most riders benefit from running 2-3 PSI less in the front tire. Your weight distribution puts more load on the rear, but the front tire handles steering and initial impact absorption. Lower front pressure improves grip on descents and technical sections. For gravel bike tire pressure for comfort, this front-rear differential also reduces hand fatigue and arm pump.
The best method is practical testing. Start with your calculated baseline, ride a familiar mixed-terrain route, and pay attention. Are you bouncing excessively on rough sections? Drop 2 PSI. Feeling squirmy in corners or hearing rim strikes? Add 2 PSI. Does the bike feel harsh and lacking grip? Go lower. This iterative process of how to optimize gravel tire pressure for speed and comfort takes a few rides but yields personalized results. Keep notes on your phone—”35 PSI front/38 PSI rear perfect for Saturday’s course” becomes valuable data. Just like finding your optimal cadence improves efficiency, dialing in pressure transforms your riding experience. Speaking of cadence, here’s a useful guide on finding your best pedaling rate.
Common Tire Pressure Mistakes and Pro Tips
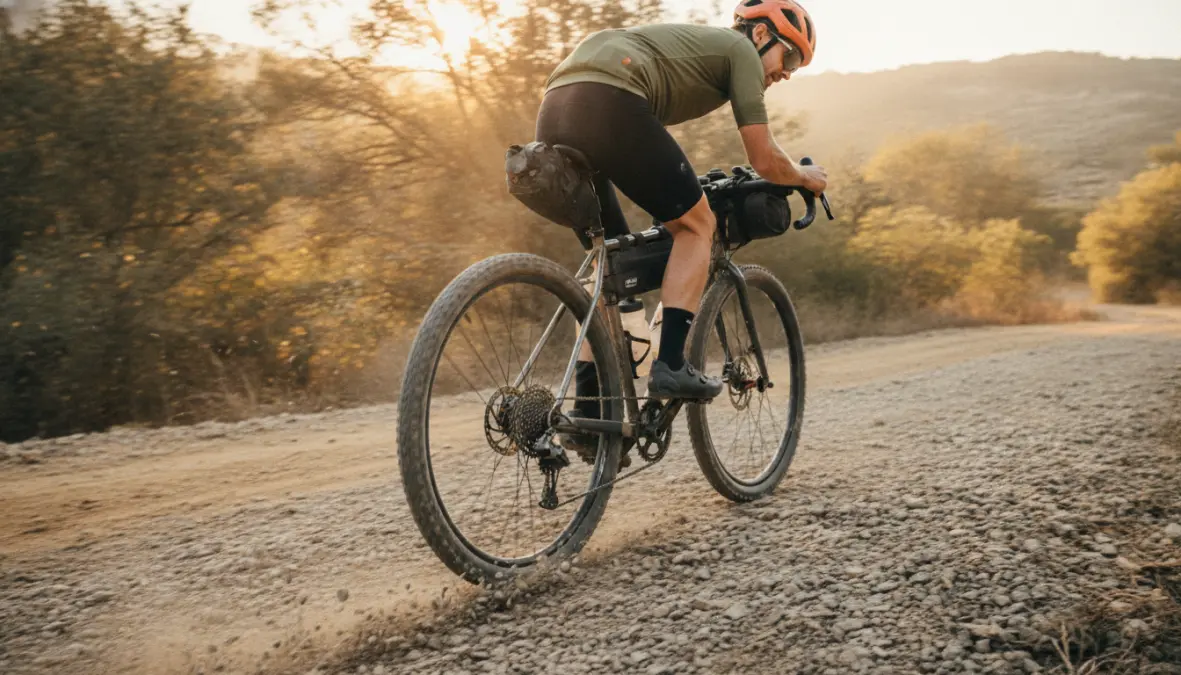
Even experienced gravel riders make pressure mistakes. The most common? Running too high. Many riders transitioning from road cycling keep that “pump it hard” mentality, but overinflated gravel tires kill comfort, reduce grip, and actually slow you down on rough surfaces because you’re bouncing rather than rolling smoothly. The tire casing suppleness can’t work its magic when you’re running 50 PSI in a tire designed to shine at 30 PSI.
Running too low has its own problems. With tubed setups, you’ll get pinch flats (snake bites) when the tire compresses hard enough for the rim to pinch the tube. Even with tubeless, excessively low pressure causes instability, increases rolling resistance on firm surfaces, and can lead to tire burping (air escaping past the bead) in hard corners. Neither extreme gives you good puncture protection gravel tires can offer.
Another mistake is blindly copying someone else’s setup. Your buddy’s perfect pressure might be terrible for you if there’s a 20kg weight difference or different tire widths. Gravel bike tire pressure by weight matters enormously—use their numbers as reference, not gospel.
Here are some pro tips for better gravel bike tire setup: Always check pressure before riding—tires lose 1-2 PSI per week naturally, and temperature swings cause pressure changes (roughly 1 PSI per 10°F change). Carry a quality mini-pump with a gauge for mid-ride adjustments. Note that the best tire pressure for gravel bike racing often trends slightly higher than recreational riding since you’re prioritizing speed and responsiveness over maximum comfort, but not by much—maybe 2-4 PSI higher. Consider using a gravel tire pressure calculator app or online tool as a starting point, then personalize from there. Most importantly, embrace the advantages of tubeless—the ability to run lower pressures without pinch flat worries is a game-changer for technical terrain. Whether you’re bike packing on multi-day adventures (check this complete packing guide) or racing, proper pressure makes everything better.
Frequently Asked Questions
What PSI should I run for 40mm gravel tires?
For 40mm tubeless tires, most riders fall in the 25-35 PSI range depending on weight. A 75kg rider typically runs 28-30 PSI, while heavier riders (90kg+) might need 33-36 PSI. Add 5-8 PSI if you’re running tubes instead of tubeless.
How much lower can I go with tubeless?
Tubeless setups safely run 5-10 PSI lower than tubed tires because there’s no tube to pinch. This means better traction, comfort, and control without the pinch flat risk. Just ensure you have proper tubeless sealant setup and compatible rims.
Should front and rear tire pressure be different?
Yes, running 2-3 PSI less in the front tire is generally recommended. This improves steering grip and comfort while the rear carries more weight and benefits from slightly higher support. Experiment with this differential to find what feels best.
How does temperature affect tire pressure?
Temperature significantly impacts pressure—expect about 1 PSI change per 10°F (5.5°C). If you inflate tires in a cool garage then ride in hot sun, pressure can increase 3-5 PSI. Check and adjust before riding, especially during seasonal transitions like moving from indoor to outdoor cycling.
Dialing in your gravel bike tire pressure transforms your riding experience more than almost any other simple adjustment. Start with the formulas and charts above, make terrain-based tweaks, avoid common mistakes, and keep notes on what works. Your perfect PSI is out there—it’s just a few test rides away. Now get out there and find that sweet spot where speed meets comfort and grip meets efficiency. Your gravel adventures will thank you.