Tubeless Tire Setup Guide: Complete Installation Steps and Benefits for Cyclists
Ever wondered why so many cyclists are ditching inner tubes? The tubeless tire setup revolution isn’t just hype—it’s a game-changer that can transform your riding experience. Whether you’re hitting gravel roads, tackling technical mountain bike trails, or optimizing your road bike performance, going tubeless offers significant advantages. In this guide, we’ll walk you through everything you need to know about tubeless tire installation, from understanding the benefits to mastering the complete setup process.
Why Go Tubeless: Key Benefits for Cyclists
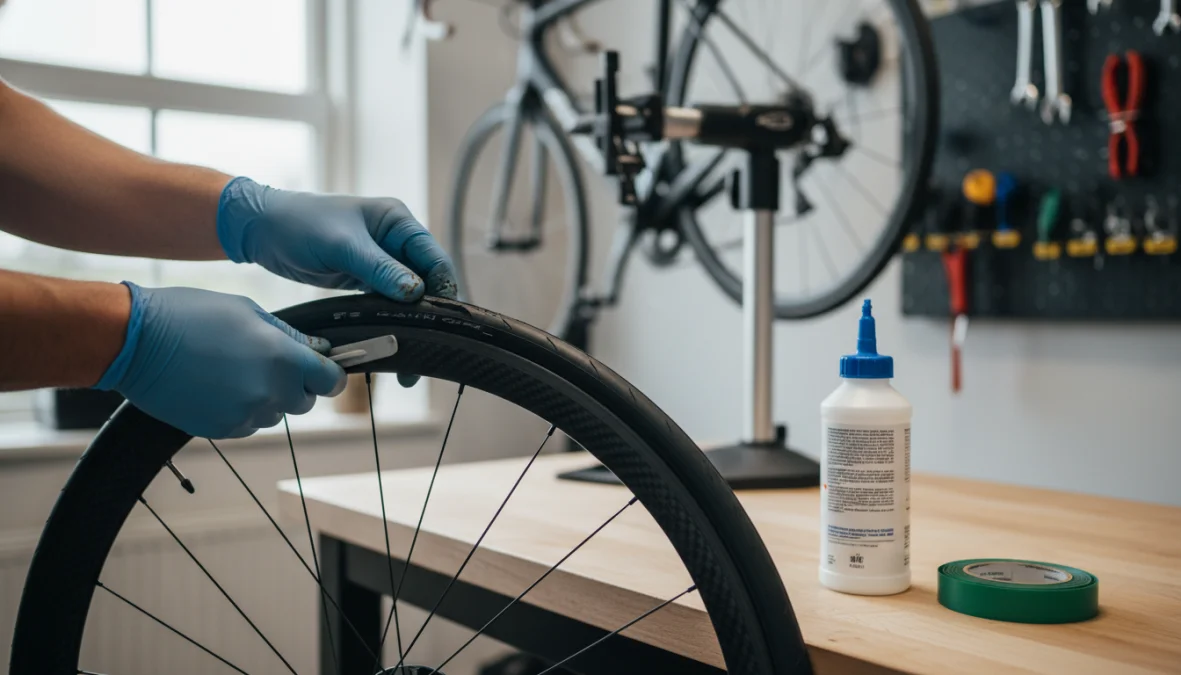
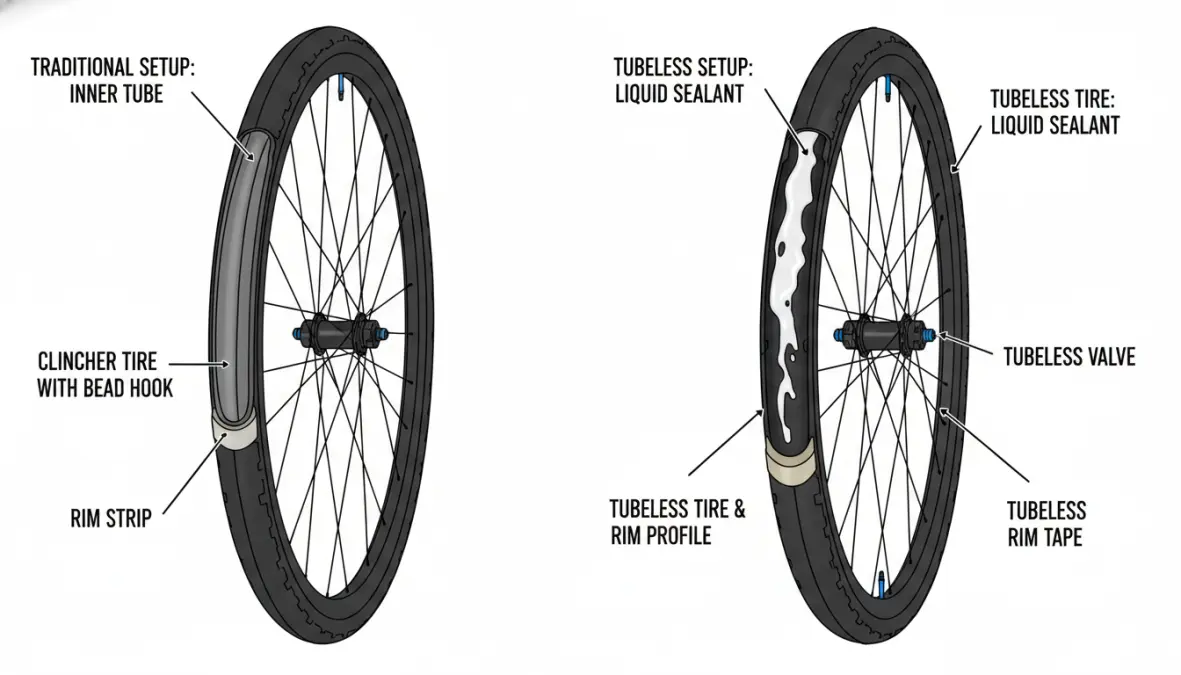
The tubeless tire setup eliminates the traditional inner tube, creating a sealed system between tire and rim that relies on tubeless sealant to prevent air loss. But why should you make the switch?
First and foremost, puncture protection is dramatically improved. The liquid sealant inside your tires instantly fills small holes and cuts as they happen, often allowing you to keep riding without even noticing the puncture. No more roadside tube changes for those annoying thorns or glass shards. Studies show that tubeless systems can seal punctures up to 6mm instantly, something impossible with traditional tubes.
Weight savings are another significant tubeless tire benefit. By removing the inner tube, you’re eliminating approximately 70-100 grams per wheel. This rotational weight reduction means less energy needed for acceleration and climbing—a crucial advantage that complements proper climbing techniques when tackling steep ascents.
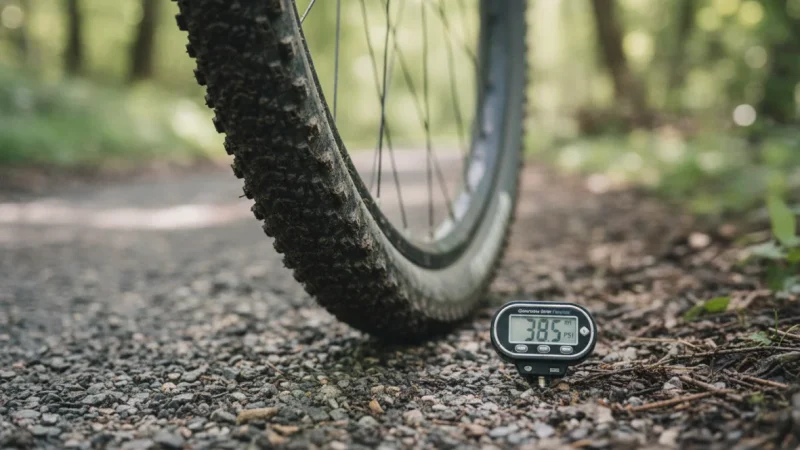
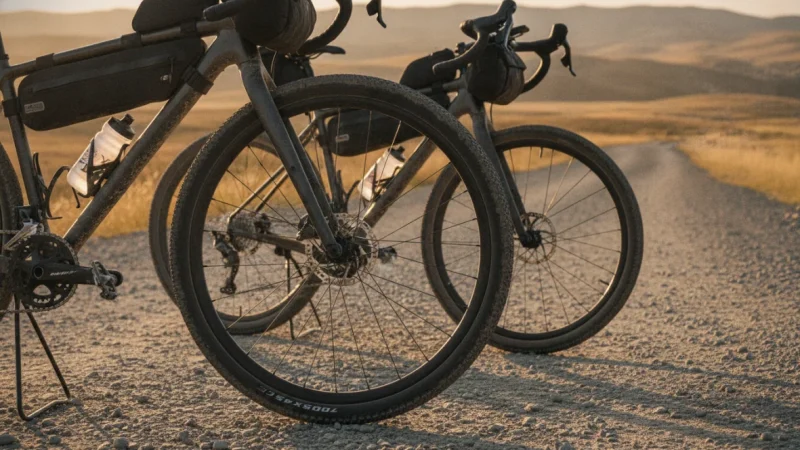
Lower tire pressure without pinch flats opens up new performance possibilities. With tubes, hitting obstacles at low pressure risks pinch flats. Tubeless eliminates this concern, allowing you to run 10-20% lower pressure for improved traction, comfort, and control. This is especially valuable for gravel and mountain biking, but road cyclists also benefit from the smoother ride quality.
The improved rolling resistance might surprise you. Without the friction between tube and tire, tubeless setups can actually roll faster, particularly at lower pressures where the tire conforms better to road surface irregularities. Combined with proper bike fitting and tire pressure optimization, you’ll maximize efficiency on every ride.
Complete Tubeless Tire Installation Process
Ready to convert? Here’s your comprehensive tubeless setup guide with everything you need for a successful tubeless tire conversion.
Materials Checklist
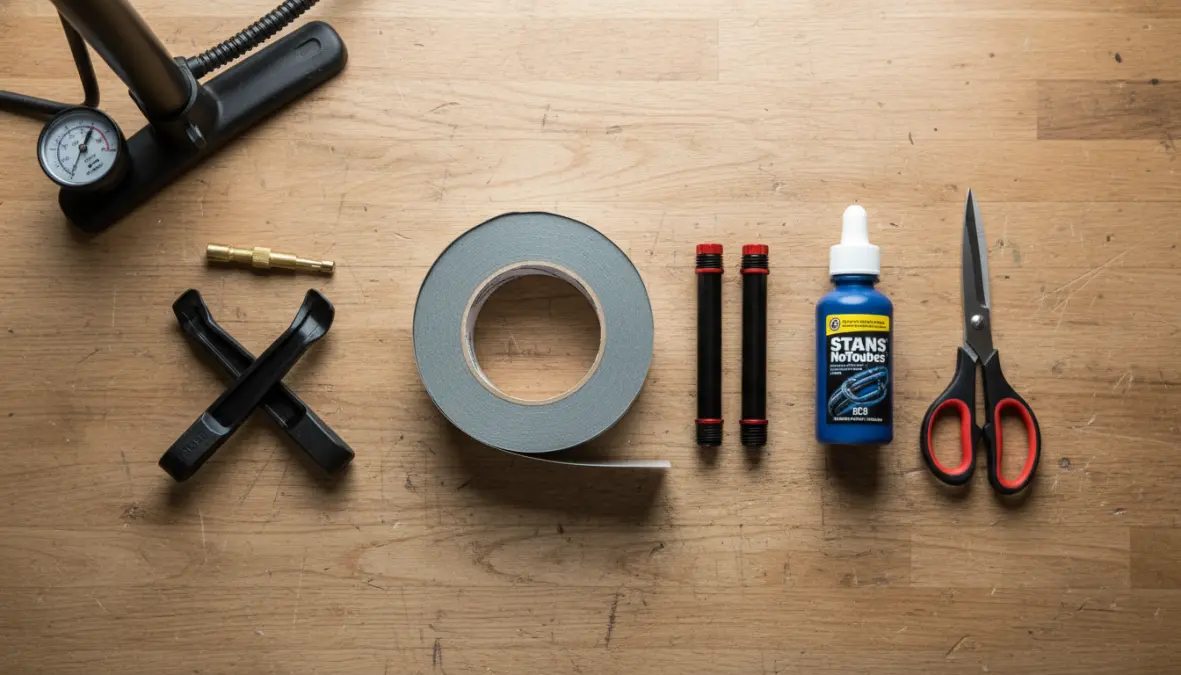
Before starting your tubeless tire installation, gather these essentials:
- Tubeless-ready or tubeless-compatible rims and tires
- Tubeless rim tape (width matching your rim’s internal width)
- Tubeless valves (presta valve type for most bike wheels)
- Tubeless sealant (60-120ml per tire depending on size)
- Tire levers
- Floor pump or air compressor
- Scissors and valve core tool
Understanding wheel compatibility is crucial. While “tubeless ready” rims are optimized for tubeless use, many “tubeless compatible” rims can also work with proper tubeless rim tape application.
Step-by-Step Installation Guide
Step 1: Rim Preparation
Remove existing tires and tubes. Clean the rim bed thoroughly, removing old tape, dirt, and debris. A clean surface ensures proper rim tape application and prevents air leaks.
Step 2: Apply Tubeless Rim Tape
This is critical for creating an airtight seal. Start opposite the valve hole, applying tape with firm, consistent pressure. Overlap the starting point by 3-4 inches and press down firmly, especially around spoke holes. Smooth out any bubbles or wrinkles—these are common tubeless tire setup problems that cause air leaks.
Step 3: Tubeless Valve Installation
Locate the valve hole and pierce the tape with a sharp object. Insert your presta valve from outside, securing it with the lock ring. Tighten firmly but don’t over-torque, which can damage the rim tape.
Step 4: Mount One Tire Bead
Install one side of the tire onto the rim. Most tubeless-ready tires mount easily by hand—if you need tire levers, use them carefully to avoid damaging the rim tape.
Step 5: Add Tubeless Sealant
How much sealant for tubeless tires? Road bikes typically need 60-80ml per tire, gravel bikes 80-100ml, and mountain bikes 100-120ml. You can either pour it directly into the tire before mounting the second bead or inject it through the valve after mounting (remove the valve core first).
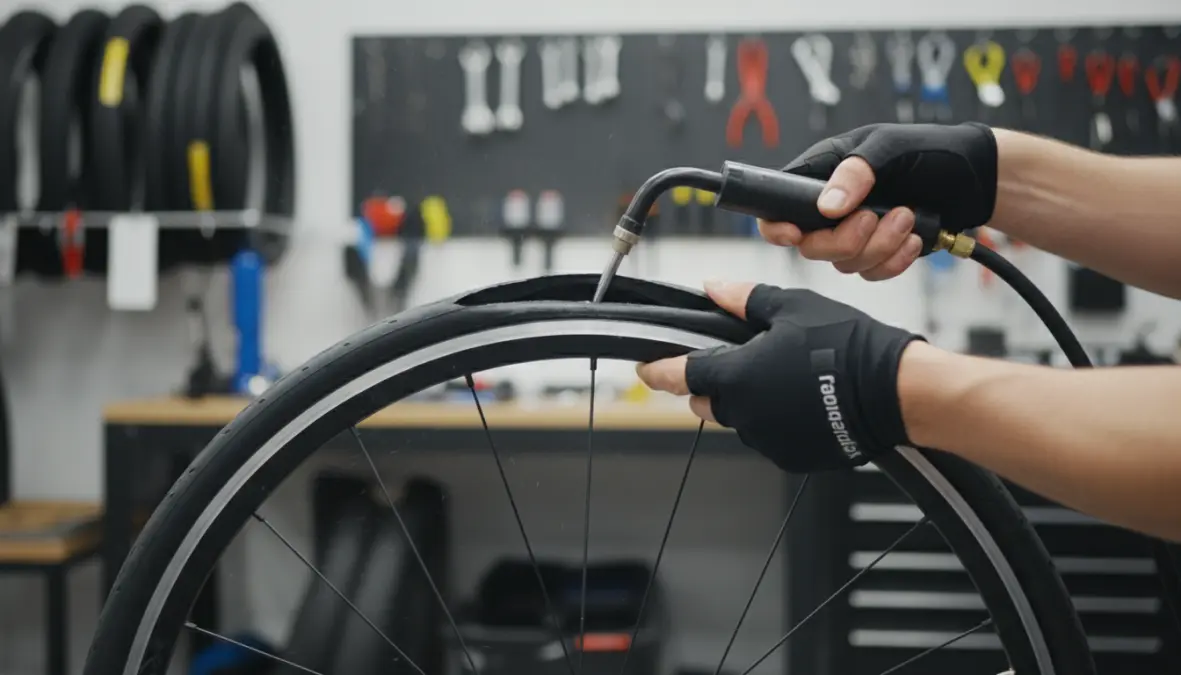
Step 6: Mount Second Bead and Initial Inflation
Mount the remaining tire bead, leaving a small section near the valve unmounted if adding sealant now. For tire bead seating, you need volume and speed. A floor pump works for many setups, but an air compressor makes the job easier, especially for beginners. Some riders successfully complete tubeless tire setup without compressor using the “tubeless inflation bottle” method.
Step 7: Seat the Bead
Inflate quickly to 40-60 PSI (higher than your riding pressure). You should hear distinct “pop” sounds as the tire bead seats into the rim hooks. Rotate the wheel and shake it to distribute sealant, coating the entire inner surface.
Step 8: Check for Leaks and Adjust Pressure
Inspect the tire-rim interface for air leaks. Small leaks often seal themselves as the sealant works. After confirming the setup holds air, adjust to your optimal riding pressure. Remember: tubeless allows lower pressures for better comfort and traction, similar to how proper positioning and setup prevents injury.
Troubleshooting Common Issues
If the tire won’t seat, try these tips: ensure the tire beads are centered in the rim channel, add more air volume quickly, or use soapy water around the bead to help it slide into place. Persistent air loss usually indicates rim tape issues—check for proper coverage and punctures around spoke holes.
FAQ: Common Tubeless Setup Questions
How much sealant do I need for tubeless tires?
The answer depends on tire volume. Road bike tires need 60-80ml, gravel tires require 80-100ml, and mountain bike tires work best with 100-120ml. Larger volume tires need more sealant to coat the inner surface adequately.
Can I convert any rim to tubeless?
Most modern rims work with proper tubeless rim tape, but there’s a difference between tubeless ready vs tubeless compatible rims. Tubeless-ready rims have optimized bead shelves and sealed spoke beds, making conversion easier. Older non-tubeless rims can sometimes work but may require more troubleshooting.
How often should I replace tubeless sealant?
Sealant maintenance is essential for continued puncture protection. In dry climates, refresh sealant every 2-3 months. In humid conditions, it lasts 3-6 months. Check by removing the valve core and looking inside—if it’s still liquid and not dried up, you’re good.
What tire pressure should I use with tubeless?
Start with your normal pressure and reduce by 10-15%. Road cyclists might run 75-85 PSI instead of 90-100 PSI. Mountain bikers can drop to 22-28 PSI for trail riding. Experiment to find your sweet spot balancing comfort, traction, and rolling resistance.
Do I need a special pump for tubeless tire setup?
While an air compressor is easiest, a good floor pump works for many setups, especially with tubeless-ready systems. Tubeless inflators (charged chambers) offer a middle ground, providing the air volume burst needed for stubborn tire bead seating without requiring a compressor.
Making the switch to a tubeless tire setup requires initial investment in materials and time, but the benefits—fewer flats, better performance, improved comfort—make it worthwhile for most cyclists. Whether you’re learning how to set up tubeless tires on road bike or converting your mountain bike wheels, following this tubeless tire installation step by step process ensures success. Start with proper preparation, take your time with rim tape application, and don’t get discouraged if your first attempt needs troubleshooting. Once dialed in, you’ll wonder why you didn’t go tubeless sooner. Your rides will be smoother, faster, and more reliable, letting you focus on building fitness through quality training rather than fixing flats.