Cycling Tire Pressure Guide: Find Your Optimal PSI for Speed and Comfort
Ever feel like you’re pedaling harder than you should, or that every bump in the road rattles your bones? Chances are, your tire pressure isn’t dialed in. Getting your PSI right is one of the simplest yet most overlooked ways to transform your cycling experience. Too much air and you’re bouncing off every pebble; too little and you’re working against yourself with every pedal stroke. This cycling tire pressure guide will help you nail down the sweet spot for your riding style, terrain, and bike setup.
Understanding Tire Pressure: Why PSI Matters for Cyclists
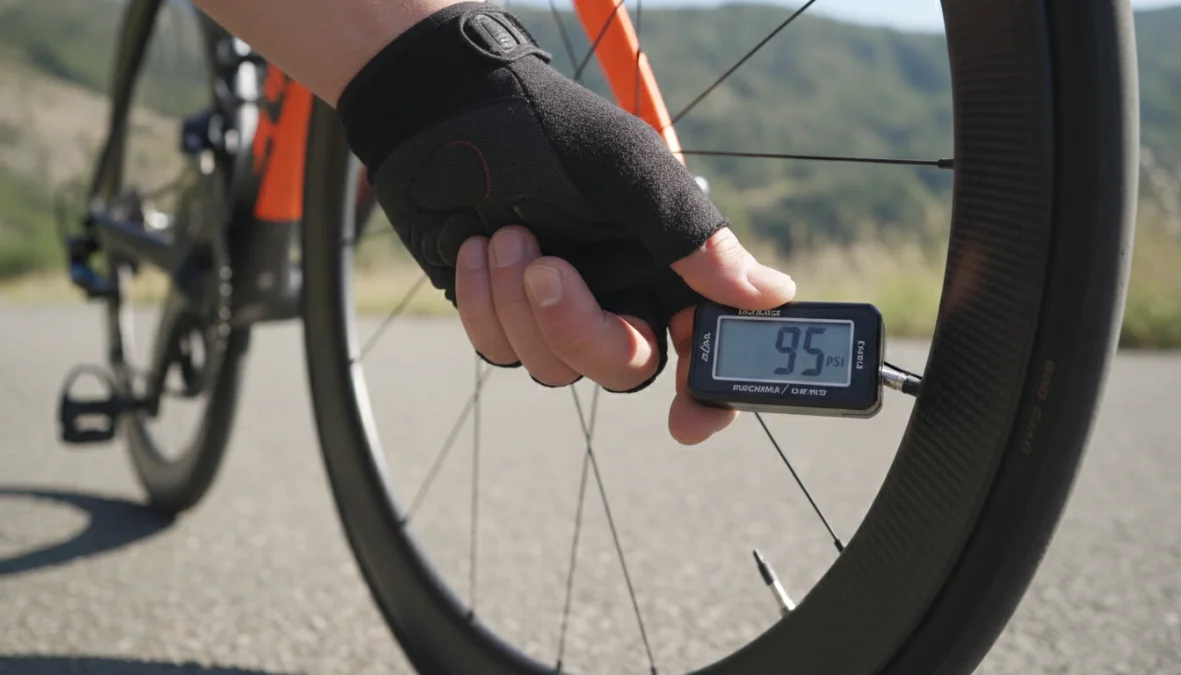
PSI stands for pounds per square inch, and it’s the measurement of air pressure inside your tires. Think of it as the foundation of your ride quality. When you’re searching for optimal tire pressure cycling settings, you’re essentially balancing three key elements: speed, comfort, and control.
Higher tire pressure reduces rolling resistance on smooth surfaces because less tire surface contacts the ground—what cyclists call the contact patch. This means faster speeds with less effort on perfect pavement. But crank that pressure too high, and you sacrifice grip and traction, especially on rough roads where your tire bounces rather than absorbs impacts. You’ll feel every crack and vibration transmitted straight through to your body.
Lower pressure does the opposite. It increases the contact patch, giving you better grip around corners and a natural suspension effect that smooths out rough terrain. Your bike essentially floats over small obstacles instead of hammering through them. The trade-off? More rolling resistance on smooth roads and increased risk of pinch flats with clincher tires.
The magic happens when you find that middle ground—enough pressure for efficiency without sacrificing comfort or control. Modern research has shown that the old-school approach of pumping tires to maximum PSI isn’t actually faster on real-world roads. A slightly lower pressure often provides better overall performance by maintaining traction and reducing energy loss from vibration.
Finding Your Optimal Tire Pressure: Factors and Recommendations
There’s no universal answer to what psi should my bike tires be, but there are proven guidelines based on bike type, rider weight, and tire width. Let’s break down the specifics for different cycling disciplines.
Road Bike Tire Pressure Guidelines
For road bike tire pressure, the typical range falls between 80-130 PSI, but modern thinking has shifted toward the lower end of this spectrum. The key factor is tire pressure based on rider weight. Here’s a practical bike tire psi chart to get you started:
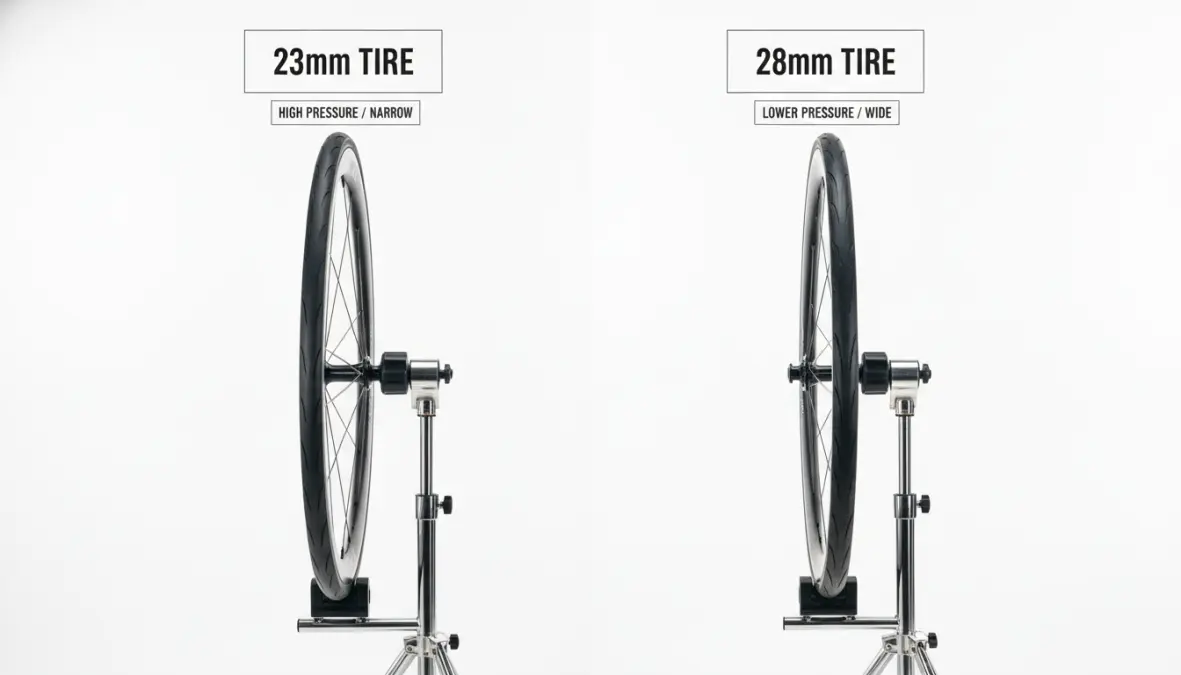
- Rider under 150 lbs (68 kg): 23mm tires at 90-100 PSI, 25mm at 85-95 PSI, 28mm+ at 75-85 PSI
- Rider 150-180 lbs (68-82 kg): 23mm tires at 100-110 PSI, 25mm at 90-100 PSI, 28mm+ at 80-90 PSI
- Rider over 180 lbs (82 kg): 23mm tires at 110-120 PSI, 25mm at 95-105 PSI, 28mm+ at 85-95 PSI
The best tire pressure for 700c road bike setups also depends on whether you’re running tubeless tire pressure or traditional clinchers. Tubeless systems allow you to run 5-10 PSI lower than clinchers because there’s no inner tube to pinch flat. This lower pressure improves comfort and grip without the puncture risk. If you’re curious about making the switch, check out our tubeless tire setup guide for detailed installation instructions.
Wider tires have become increasingly popular precisely because they allow lower pressures with the same or better performance. A 28mm tire at 85 PSI often rolls faster on real roads than a 23mm tire at 110 PSI, simply because it doesn’t bounce around as much.
Mountain Bike and Gravel Tire Pressure
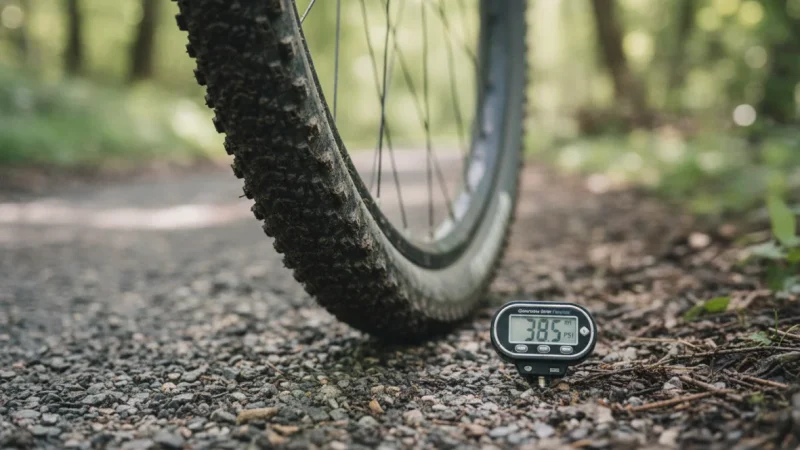
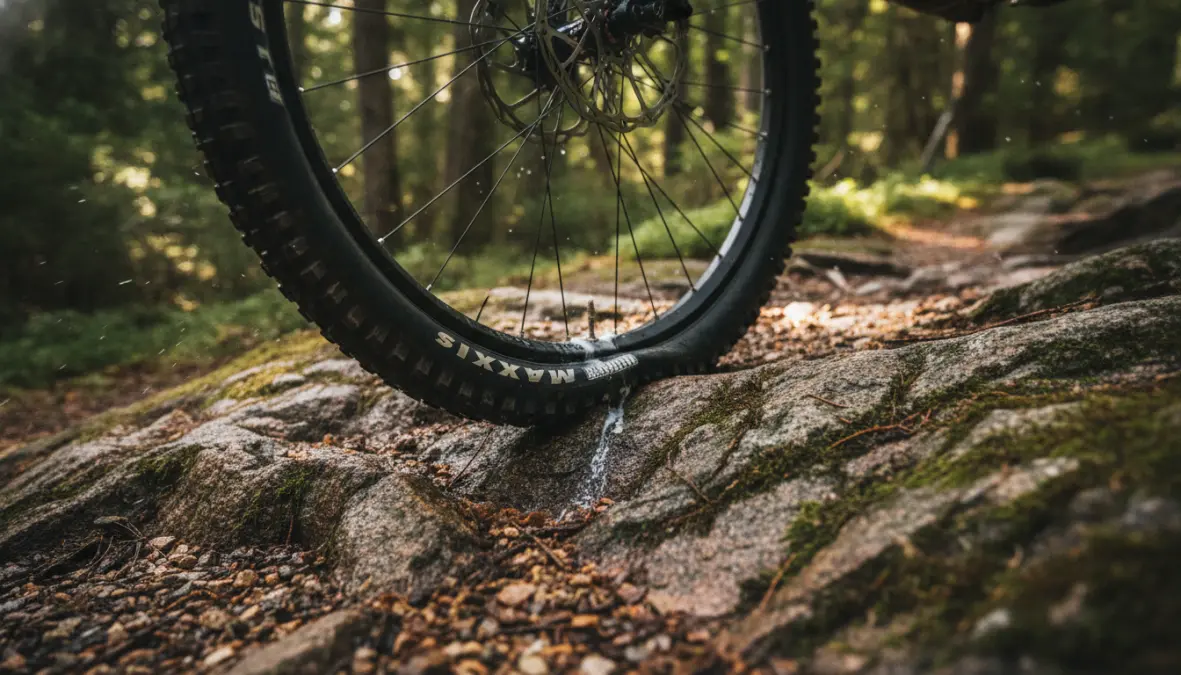
For mountain bike tire pressure, you’re looking at much lower numbers—typically 25-35 PSI for trail riding, sometimes even lower for aggressive downhill. The softer terrain demands maximum grip and puncture protection, which lower pressure provides by allowing the tire to conform around obstacles.
Gravel riding sits in the middle ground at 30-50 PSI, depending on terrain roughness and tire volume. A tire pressure guide for different terrain might suggest starting at 40 PSI for mixed surfaces, then adjusting based on conditions. Rocky, technical terrain benefits from lower pressure (28-32 PSI), while smooth gravel roads can handle higher pressure (45-50 PSI).
Tubeless setups are practically standard in mountain biking now, allowing riders to run extremely low pressures without worrying about pinch flats. Some riders even use tire inserts for additional rim protection when running ultra-low pressures on technical trails. Flow trails with smooth berms and jumps can handle slightly higher pressure for faster rolling, while gnarly rock gardens demand all the cushion you can get.
Adjusting Tire Pressure for Different Conditions
Understanding how to find optimal tire pressure for road cycling means knowing when to adjust. Weather, terrain, and ride duration all play roles in calculating correct bike tire pressure.
In wet conditions, drop your pressure by 5-10 PSI to increase the contact patch and improve grip and traction. On hot days, remember that heat expands air—your tires might gain 5-10 PSI just from riding. Cold weather does the opposite, so you might need to add a few extra pumps before winter rides.
Here’s a practical formula for your starting point: Take your weight in pounds, divide by 10, then add your bike weight in pounds divided by 10. This gives you a baseline rear tire pressure. Run the front tire 5-10 PSI lower since it carries less weight. For example, a 170 lb rider on a 17 lb bike would start around 95 PSI rear, 85 PSI front for 25mm tires.
Many cyclists now use a cycling psi calculator online to dial in these numbers more precisely. These tools factor in tire width, rim width, and riding style to give personalized recommendations. They’re especially helpful when you’re experimenting with new tire setups or switching between disciplines.
The relationship between how tire pressure affects cycling speed isn’t always intuitive. While higher pressure reduces rolling resistance on glass-smooth surfaces, real roads have texture. Studies show that on typical pavement, slightly lower pressure can actually be faster because the tire absorbs small bumps rather than bouncing over them, maintaining momentum more efficiently.
For lower tire pressure for comfort cycling, don’t be afraid to experiment. Start with the recommended pressure and drop it in 5 PSI increments until you notice the ride smoothing out. Stop before you feel the tire squirming in corners or hear the rim bottoming out on hard impacts. This fine-tuning process is personal—what feels plush to one rider might feel mushy to another.
Long rides benefit from slightly higher pressure to prevent gradual air loss from affecting performance. For competitive events where you’re chasing every watt, consider how aerodynamics and rolling resistance interact with your equipment choices. Our guide on cycling aerodynamics explores how small adjustments can compound into significant gains.
Proper tire inflation is one of those marginal gains that adds up across a season. Combined with smart training approaches—like using a power meter for structured workouts—you’ll maximize every pedal stroke. And don’t forget that fueling properly, covered in our cycling nutrition guide, ensures you have the energy to benefit from your optimized setup.
Getting your tire pressure right isn’t rocket science, but it does require attention and experimentation. Start with the guidelines in this cycling tire pressure guide, then adjust based on feel and performance. Check your pressure before every ride—tires naturally lose air over time—and don’t be afraid to make small tweaks based on the day’s conditions. Your tires are your only contact with the road, so treat them right and they’ll reward you with faster, more comfortable, and more controlled riding.