Cycling Tire Pressure Guide: Find Your Optimal PSI for Maximum Performance
Ever wondered why your ride feels sluggish one day and super responsive the next? The answer might be hiding right beneath you. Cycling tire pressure is one of those things that seems simple on the surface but can make or break your entire cycling experience. Getting your PSI just right isn’t about following the numbers stamped on your tire sidewall—it’s about finding that sweet spot where speed, comfort, and control come together perfectly for your specific riding style.
Understanding Cycling Tire Pressure: Why PSI Matters for Your Ride
Let’s cut through the technical jargon: bike tire psi (pounds per square inch) is simply the measurement of air pressure inside your tires. But here’s where it gets interesting—this simple number controls almost everything about how your bike performs. Think of proper tire inflation as the foundation of cycling performance optimization. Get it right, and you’ll experience better speed, superior grip, and a more comfortable ride. Get it wrong, and you’re looking at increased rolling resistance, poor handling, and a significantly higher risk of flats.
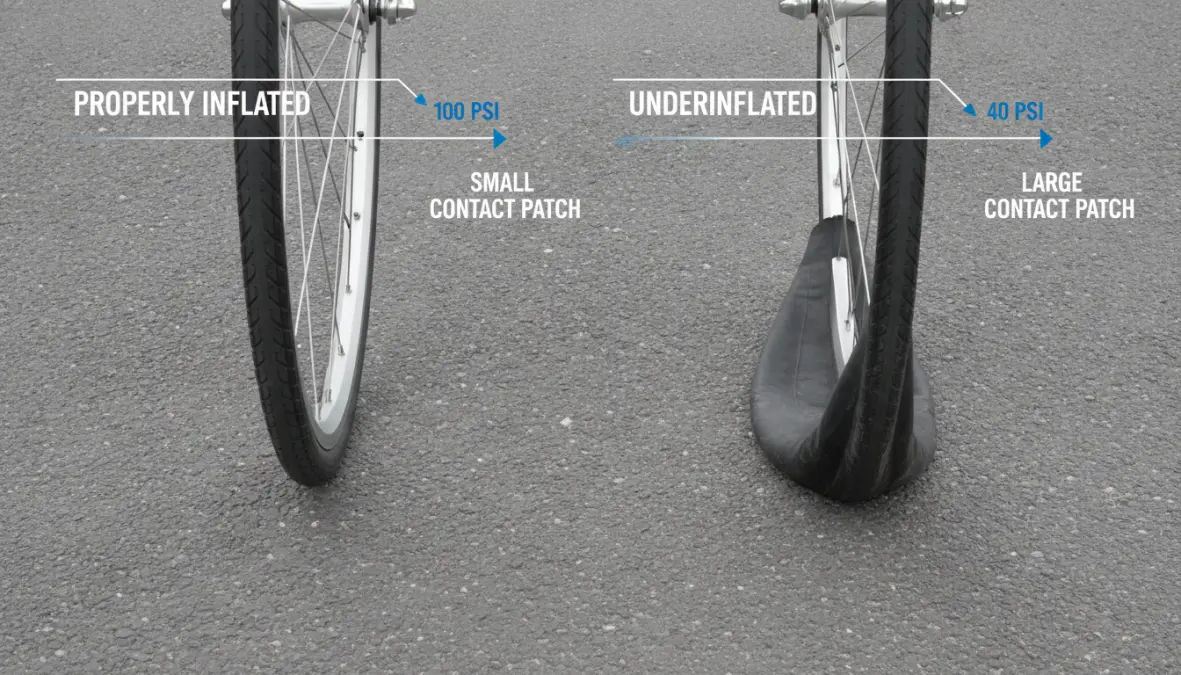
When your tires are underinflated, they create a larger contact patch with the ground. While this might sound like more grip (and it can be, in certain situations), it also means more tire deformation, which increases rolling resistance and slows you down. You’re also inviting pinch flats—those frustrating punctures that happen when your tire compresses so much that the tube gets pinched between the rim and an obstacle. On the flip side, overinflated tires reduce your contact patch to a tiny strip, making your ride harsh, reducing grip and traction (especially on rough surfaces), and actually increasing rolling resistance on anything but perfectly smooth pavement. The key is finding that Goldilocks zone where your tire pressure supports your weight without being rock-hard, maintains enough contact for control, and minimizes energy loss. This balance is crucial for overall cycling performance optimization, much like finding your optimal cycling cadence for maximum efficiency.
How to Determine Your Optimal Tire Pressure
Finding your optimal tire pressure isn’t a one-size-fits-all situation. While a tire pressure calculator can give you a solid starting point, the real answer involves understanding several key variables that affect what works best for you. Whether you’re running road bike tire pressure at the higher end or mountain bike tire pressure at the lower end, the principles remain the same—you’re balancing weight, tire volume, terrain, and riding style.
Key Factors That Affect Your Ideal PSI
Rider weight plus gear: This is your primary starting point. Heavier riders need more pressure to prevent the tire from bottoming out, while lighter riders can run lower pressures for better comfort and grip. Don’t forget to factor in your backpack, water bottles, and any other equipment you’re carrying.
Tire width: Wider tires can run at lower pressures because they have more air volume to support your weight. A 25mm road tire might need 90-100 PSI for a 70kg rider, while a 32mm gravel tire might only need 60 PSI for the same person. This relationship is fundamental to understanding how to calculate bike tire psi.
Terrain conditions: Smooth asphalt allows for higher pressures that maximize speed, while rough roads, gravel, or trails demand lower pressures for better shock absorption and traction. The tire pressure guide for different terrains shows significant variation—what works on your local bike path won’t work on a technical mountain descent.
Weather conditions: Wet conditions benefit from slightly lower pressures for increased contact patch and better grip. Temperature also affects PSI—your tires gain about 2 PSI for every 10-degree temperature increase.
Riding style: Aggressive cornering and descending require different pressures than steady endurance riding. Racers often experiment extensively to find tire pressure for road cycling performance that matches their specific demands.
Tire Pressure Recommendations by Bike Type
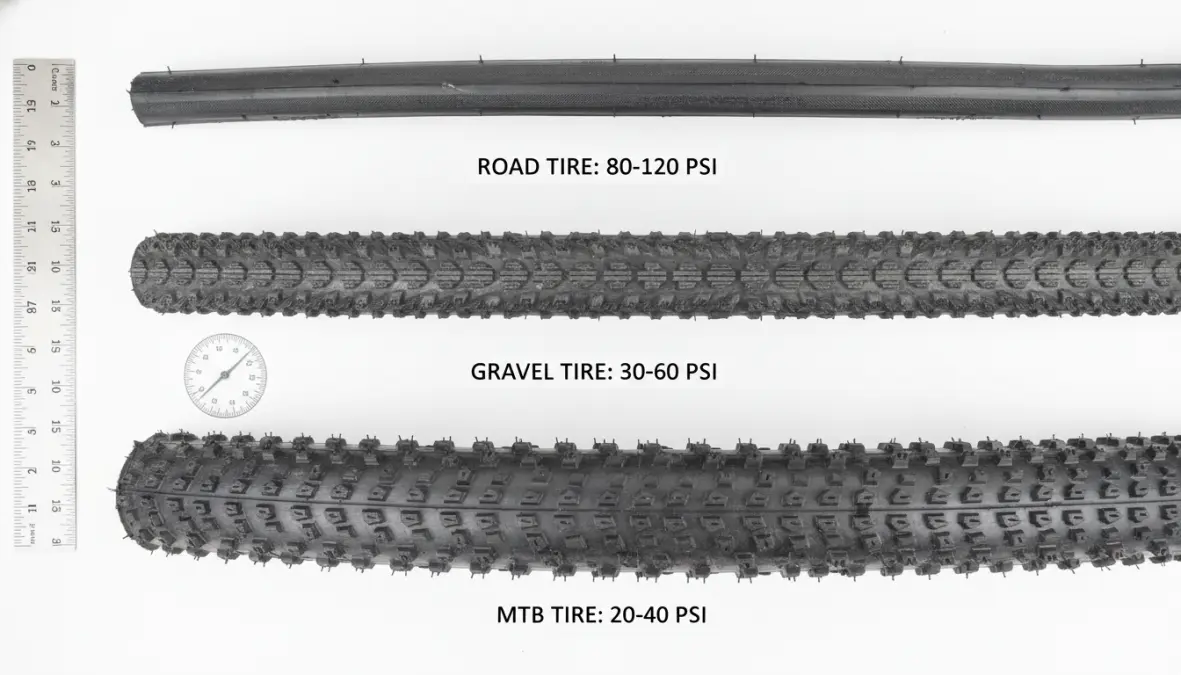
Road bikes typically run 80-130 PSI, depending heavily on tire width and rider weight. A 70kg rider on 25mm tires might start around 85-90 PSI, while a 90kg rider could need 100-110 PSI. Modern wider road tires (28-32mm) have changed the game, with many riders finding optimal performance around 70-85 PSI even on smooth roads.
Mountain bikes operate in a completely different range, typically 25-50 PSI. For cross-country riding, you might run 28-35 PSI, while enduro and downhill riders often drop to 22-28 PSI for maximum traction and control. The best tire pressure for mountain biking depends heavily on whether you’re climbing fire roads or descending rocky technical trails.
Gravel bikes split the difference at 40-70 PSI, with most riders settling around 45-55 PSI for mixed terrain. This provides enough cushion for rough gravel while maintaining efficiency on paved sections.
Hybrid and commuter bikes usually run 50-70 PSI, prioritizing comfort and puncture prevention for urban environments with potholes and debris.
One crucial consideration: tubeless setup allows you to run 5-10 PSI lower than tubed tires because there’s no risk of pinch flats. This is a game-changer for both comfort and performance. Also, rim width affects optimal pressure—wider internal rim widths support the tire better, allowing for lower pressures without the risk of burping or tire roll.
Fine-Tuning and Testing Your Tire Pressure
Here’s where science meets art. Once you’ve calculated your starting point using cycling tire pressure by weight guidelines, it’s time to test and adjust. Start with your calculated baseline, then take a test ride on your typical terrain. Pay attention to how the bike feels over bumps, how it corners, and whether you’re getting any skipping or sliding. Too harsh? Drop 5 PSI. Feeling sluggish or bouncy? Add 5 PSI. This iterative process is essential for cycling performance optimization.
Check your pressure before every ride—yes, really. Tires naturally lose 1-2 PSI per day, even without riding. Temperature swings also affect pressure significantly. That perfect 85 PSI you set in your cool garage might become 90 PSI after sitting in the sun or drop to 80 PSI on a cold morning ride.
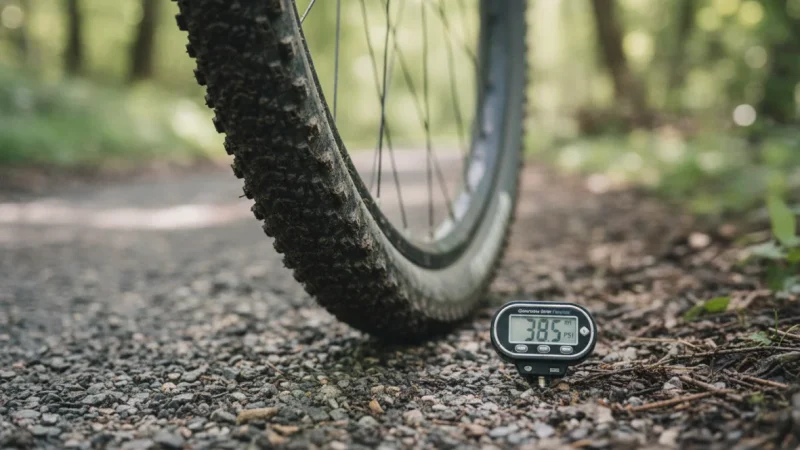
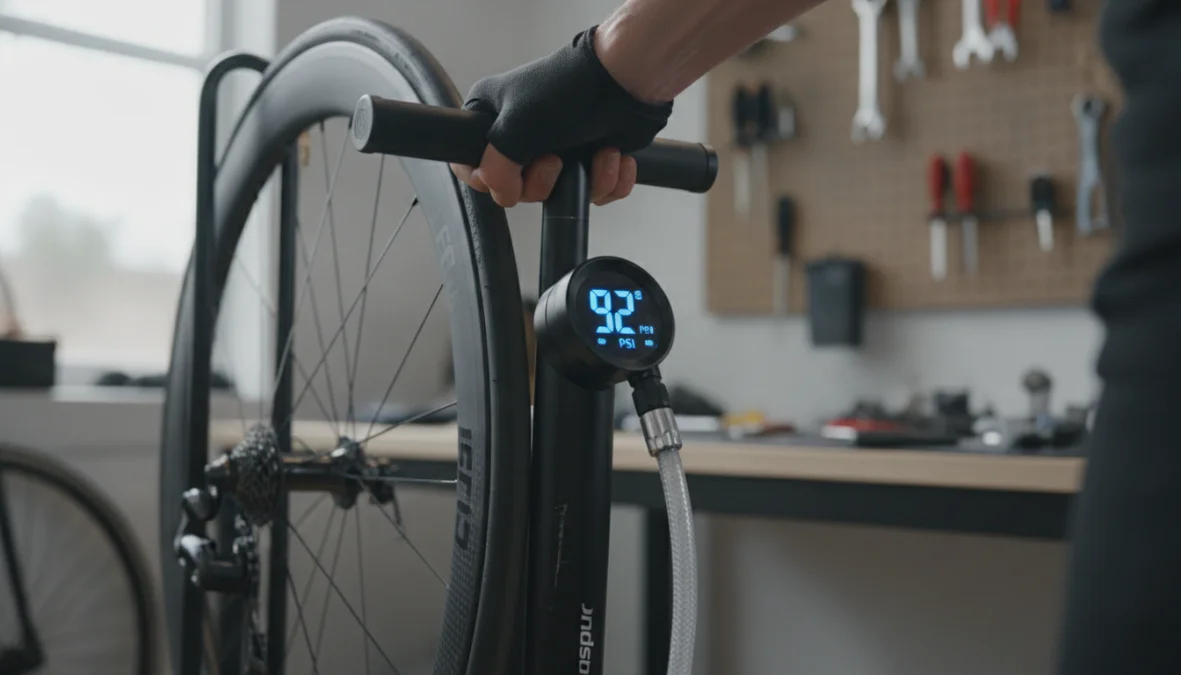
Invest in a quality floor pump with an accurate gauge and consider a digital pressure gauge for precision. The difference between 75 and 85 PSI might not seem huge, but you’ll absolutely feel it on the bike. For maintaining proper pressure as part of your overall bike care, check out this cycling maintenance schedule.
Pro tip: run 5-10% more pressure in your rear tire than your front. Your rear tire carries more weight (you’re sitting on it), while the front tire benefits from slightly lower pressure for better steering feel and grip. The classic “bounce test”—dropping your bike from a few inches and watching how it rebounds—can help dial in proper inflation, though it’s more art than science.
Finding your optimal tire pressure is an ongoing experiment that pays dividends in speed, comfort, and control. Start with the guidelines based on your bike type, weight, and tire width, then fine-tune based on your specific terrain and riding style. Remember, the best pressure is the one that makes your ride feel effortless and controlled, whether you’re hammering intervals, tackling technical descents, or just enjoying a comfortable cruise. Don’t be afraid to experiment—your perfect PSI is out there waiting to be discovered.