How to Adjust Bike Derailleur: Complete Guide to Front and Rear Shifting Setup
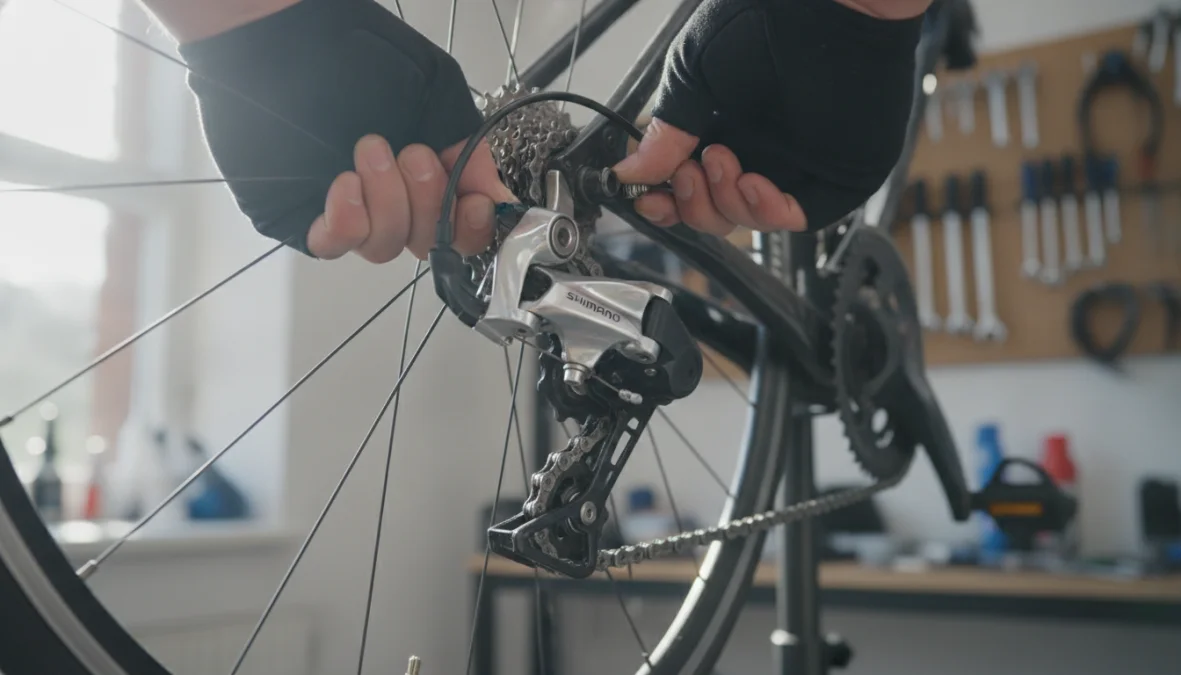
There’s nothing quite as frustrating as shifting gears mid-climb only to hear that dreaded grinding sound or feel your chain skip. Whether you’re commuting to work or tackling your local trails, smooth shifting can make or break your ride. The good news? Learning to adjust bike derailleur components yourself isn’t rocket science, and you’ll save a fortune in bike shop fees. With a few basic tools and about 30 minutes, you can transform clunky, unreliable shifting into butter-smooth gear changes that respond instantly to every click.
Understanding Your Bike Derailleur System
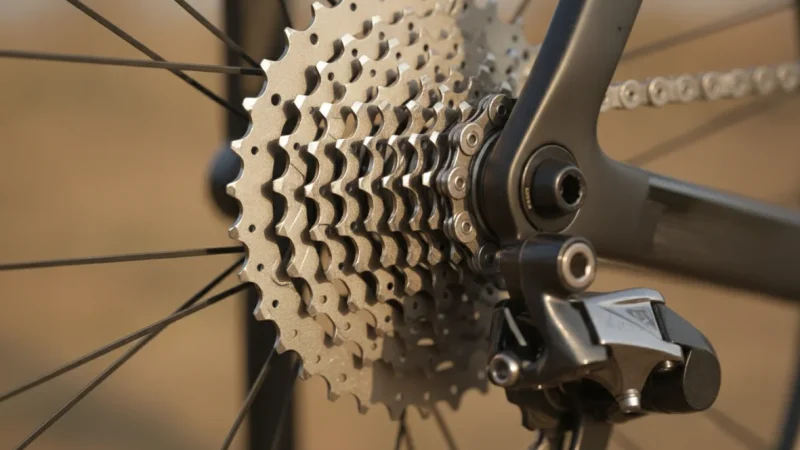
Before diving into adjustments, let’s demystify what we’re actually working with. Your derailleur alignment system consists of two main components: the rear derailleur that shifts across your cassette (those gears on your back wheel) and the front derailleur that moves your chain between chainrings. Think of them as precision guide arms that push your chain exactly where you want it.
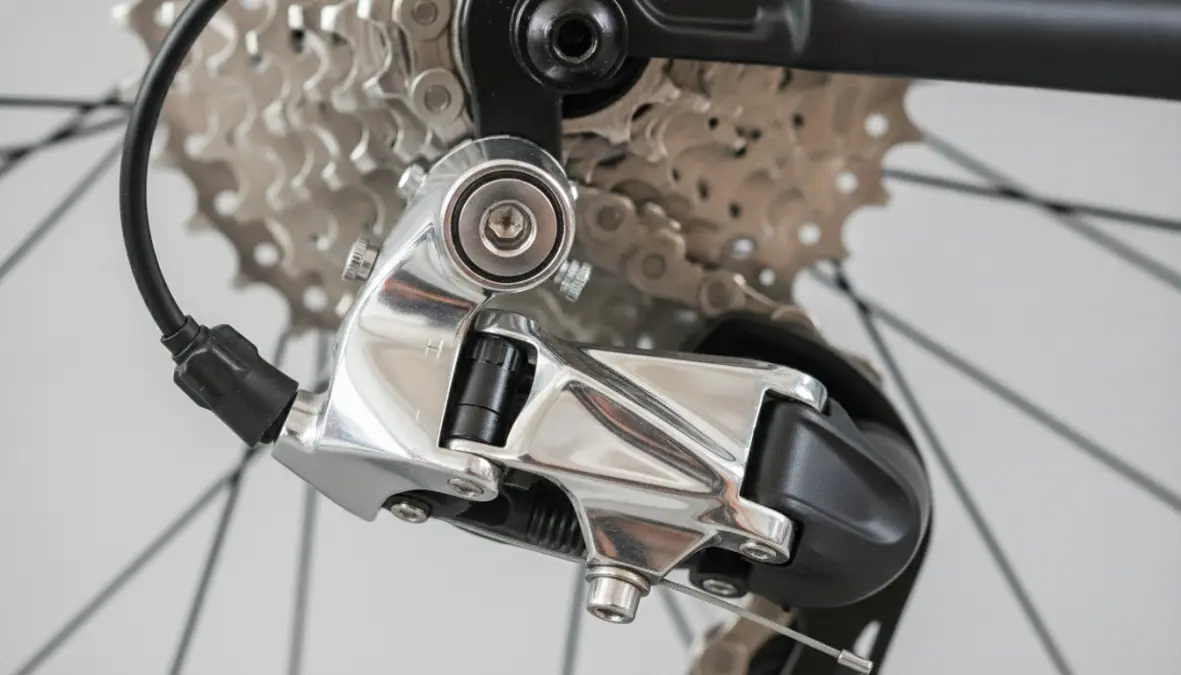
The rear derailleur does most of the heavy lifting, offering 9-13 gear options on modern bikes, while the front typically handles 2-3 chainrings. Both use spring tension to keep your chain taut and rely on derailleur limit screws (those tiny screws labeled ‘H’ and ‘L’) to prevent your chain from overshooting into your spokes or frame. Cable tension adjustment is what fine-tunes the precision of each shift.
Common bike shifting problems include chains that won’t shift into certain gears, skipping under pedaling pressure, slow or hesitant shifts, grinding noises, or the chain dropping off completely. Most of these stem from cable stretch (which happens naturally over time), bent derailleur hangers, or simply limit screws that have never been properly set. Regular maintenance as outlined in our cycling maintenance schedule can prevent many of these issues before they start.
How to Adjust Your Rear Derailleur
The rear derailleur adjustment process follows a logical sequence. Skip steps, and you’ll end up chasing your tail with endless tweaks that never quite work. Here’s the proven method that professional mechanics use.
Setting Limit Screws and Cable Tension
Start by shifting to your smallest rear cog (highest gear). If your shifter won’t get you there, manually release tension by unscrewing the barrel adjuster (that knurled ring where your cable enters the derailleur) all the way in, then back it out two full turns. This gives you adjustment range in both directions.
Next, locate the ‘H’ (high) limit screw—usually the upper screw on your derailleur. Looking from behind your bike, adjust this screw until the upper derailleur pulley aligns perfectly with your smallest cog. This prevents your chain from shifting into your dropout and potentially destroying your frame. To adjust derailleur limit screws shimano style, turn clockwise to move the derailleur inboard, counterclockwise to move it outboard.
Now shift to your largest cog. If the derailleur won’t push the chain far enough, you’ll need to address how to adjust rear derailleur cable tension: loosen the cable anchor bolt, pull the cable hand-tight (no pliers needed—you’re not trying to strangle it), and re-tighten the bolt. The ‘L’ (low) limit screw sets the inboard boundary. Adjust it so the upper pulley aligns with your largest cog, preventing chain overshifts into your spokes.
The often-forgotten hero here is the b-tension screw, located where your derailleur attaches to the hanger. This controls the gap between your upper pulley and cassette. Too close creates chain rub and poor shifting on large cogs; too far makes shifts sluggish. Aim for 5-6mm clearance when you’re in your largest cog.
Fine-Tuning and Indexing Your Gears
Indexing bike gears is where the magic happens. Shift through your entire cassette while pedaling (a bike stand helps enormously here, though you can flip your bike upside down if needed). If shifts to larger cogs are hesitant or won’t happen at all, increase cable tension by turning the barrel adjuster counterclockwise—quarter turns are your friend here.
When addressing how to fix skipping gears on bike, remember that skipping under load usually indicates a worn chain or cassette rather than adjustment issues. But if your chain skips only when shifting or won’t settle into a gear, you’re dealing with gear indexing problems. The sweet spot is when each click of your shifter produces one crisp, immediate shift with no hesitation or noise.
Test every single gear combination, not just your favorites. The ultimate test of proper drivetrain tuning is shifting from your smallest to largest cog in one continuous sweep while pedaling—each shift should happen within one crank revolution. If you have a bike won’t shift into highest gear situation after all adjustments, check your hanger alignment with a proper tool or visit a shop—bent hangers are the most common culprit that adjustment alone can’t fix.
Front Derailleur Setup and Adjustment
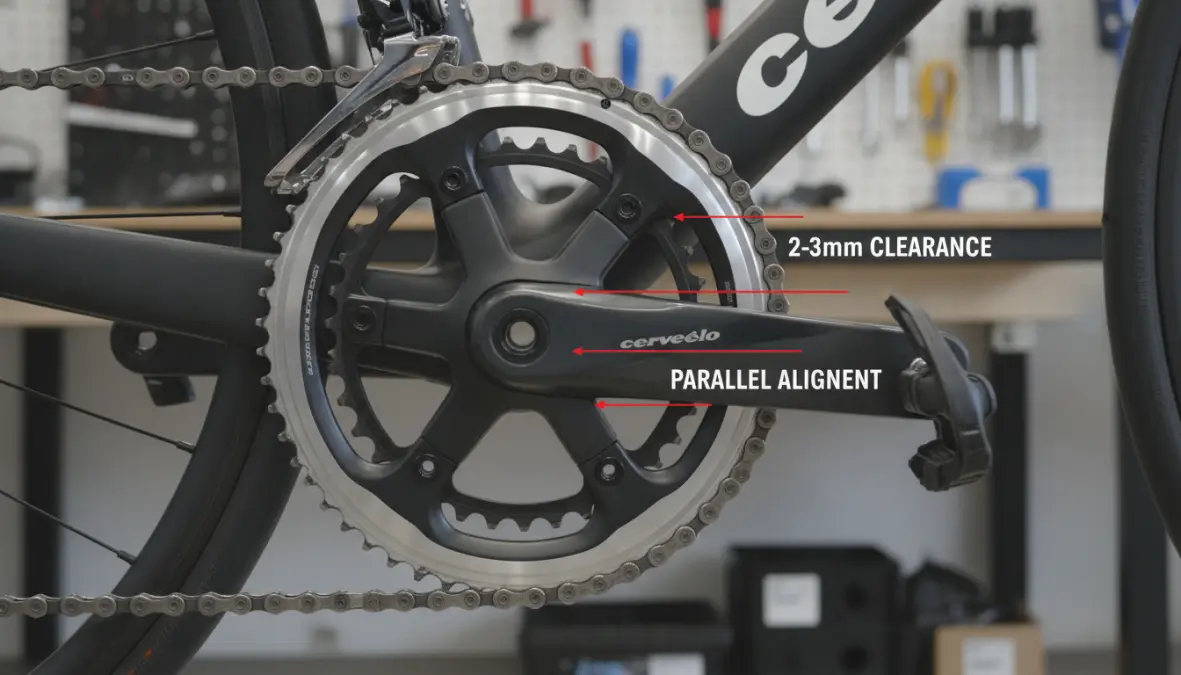
The front derailleur setup is often neglected, but it’s crucial for clean shifts and preventing front derailleur rubbing on chain issues. Start with positioning: the derailleur cage should sit 2-3mm above your largest chainring, and when viewed from above, the cage should parallel your chainrings exactly—any rotation causes poor shifting and chain rub.
Unlike rear derailleurs, front adjustment begins with cable release. Shift your front shifter to the smallest chainring position, loosen the cable anchor bolt, and let the derailleur spring inboard completely. Now set your ‘L’ limit screw so the inner cage plate sits about 1mm from your chain when it’s on the small chainring and largest rear cog—this is your most extreme chain line adjustment inboard.
Pull the shift cable housing taut (again, hand pressure only) and secure the cable. Shift to your large chainring and adjust the ‘H’ screw so the outer cage plate clears your chain by about 1mm when you’re in the big chainring and smallest rear cog. This extreme outboard position tests your high limit.
The real art of front derailleur work is trimming. Most modern shifters have half-click positions that micro-adjust the cage position to eliminate rub as you cross-chain (using extreme gear combinations like big-big or small-small—which you should avoid anyway, as discussed in our cadence training guide). Test by shifting through all chainring combinations while monitoring for rub.
If your front shifts are sluggish or won’t happen at all, the issue is almost always insufficient cable tension. Unlike the rear, front derailleurs fight against a stiffer spring, so don’t be shy with that barrel adjuster. If shifts are happening but the chain rubs constantly, double-check your derailleur rotation and height—these are more critical on the front than rear.
FAQ
Why won’t my bike shift smoothly?
Rough shifting typically results from stretched cables (add tension via barrel adjuster), contaminated or worn shift cable housing, misaligned limit screws, or a bent derailleur hanger. Cable stretch is normal over time and the easiest fix. If adjustments don’t help, inspect for worn components.
How often should I adjust my derailleur?
Plan for minor cable tension tweaks every 200-300 miles as cables stretch and settle. Full adjustments are needed when installing new cables (annually for most riders), after crashes, or when shifting performance noticeably degrades. Regular checks prevent major issues down the road.
What tools do I need to tune derailleur indexing?
You’ll need a 5mm Allen key (for cable anchor bolts), a Phillips or flat screwdriver (for limit screws, depending on your derailleur), and your hands (for barrel adjusters). A bike stand makes life easier but isn’t essential. A derailleur hanger alignment gauge is worth having for serious DIY mechanics.
Can I adjust my derailleur without a bike stand?
Absolutely. Flip your bike upside down (protect your saddle and bars with cardboard), or have a friend hold the rear wheel off the ground. You can even prop the bike against a wall and crouch beside it, though a stand makes the job far more comfortable for extended sessions.
How do I know if my derailleur hanger is bent?
If your indexing was perfect but suddenly shifts poorly across all gears, and adjustments won’t fix it, suspect hanger damage. From behind, sight down your cassette—the derailleur cage should be perfectly parallel. Any visible angle suggests bending. Professional alignment tools give definitive answers.
Mastering derailleur adjustment transforms your relationship with your bike. What once seemed like mechanical voodoo becomes a straightforward maintenance task you can knock out before your Saturday ride. Whether you’re getting ready to tackle multi-day adventures (check our bike packing essentials guide) or just commuting to work, crisp shifting makes every pedal stroke more enjoyable. Now grab those tools and show those derailleurs who’s boss—your chain will thank you with thousands of smooth, silent shifts.