How to Clean Road Bike Disc Brakes: Complete Maintenance Guide
There’s nothing worse than squeezing your brake lever and getting that unsettling lack of bite—or that ear-piercing squeal that announces your arrival from a mile away. If you ride a road bike with disc brakes, you’ve probably experienced this at some point. The good news? Learning to clean disc brakes bike components properly is easier than you think, and it’ll transform your braking performance almost instantly. Whether you’re dealing with contaminated pads, grimy rotors, or just want to maintain optimal stopping power, this guide will walk you through everything you need to know about keeping your road bike disc brakes in pristine condition.
Why Regular Disc Brake Maintenance Matters
Understanding disc brake maintenance isn’t just about keeping your bike looking clean—it’s fundamentally about safety and performance. Your road bike brakes are the most critical safety component on your bike, and even minor contamination can reduce braking power by up to 40%. Oil, dirt, road grime, and even residue from chain lube can migrate onto your rotors and pads, creating a slippery barrier that prevents proper friction.
Proper bike brake care extends component life significantly. Clean brakes mean less wear on expensive pads and rotors, potentially saving you hundreds of dollars over your bike’s lifetime. You’ll also notice improved modulation—that smooth, progressive feeling when you apply pressure to the levers—which is especially important during technical descents or emergency stops.
Watch for these telltale signs that your brakes need attention: persistent squealing or squeaking sounds, reduced stopping power requiring harder lever pulls, pulsating or vibrating sensations when braking, or visible contamination on rotors. With hydraulic disc brakes, maintenance is particularly crucial since contamination can affect the entire closed system, while mechanical systems are slightly more forgiving but still require regular attention. Including brake maintenance in your regular cycling maintenance schedule will ensure consistent performance year-round.
How to Clean Your Road Bike Disc Brakes Step-by-Step
Now let’s get into the practical work. This comprehensive approach to bike brake cleaning will restore your braking performance and eliminate those annoying noises. The entire process takes about 20-30 minutes and requires minimal tools.
Tools and Materials You’ll Need
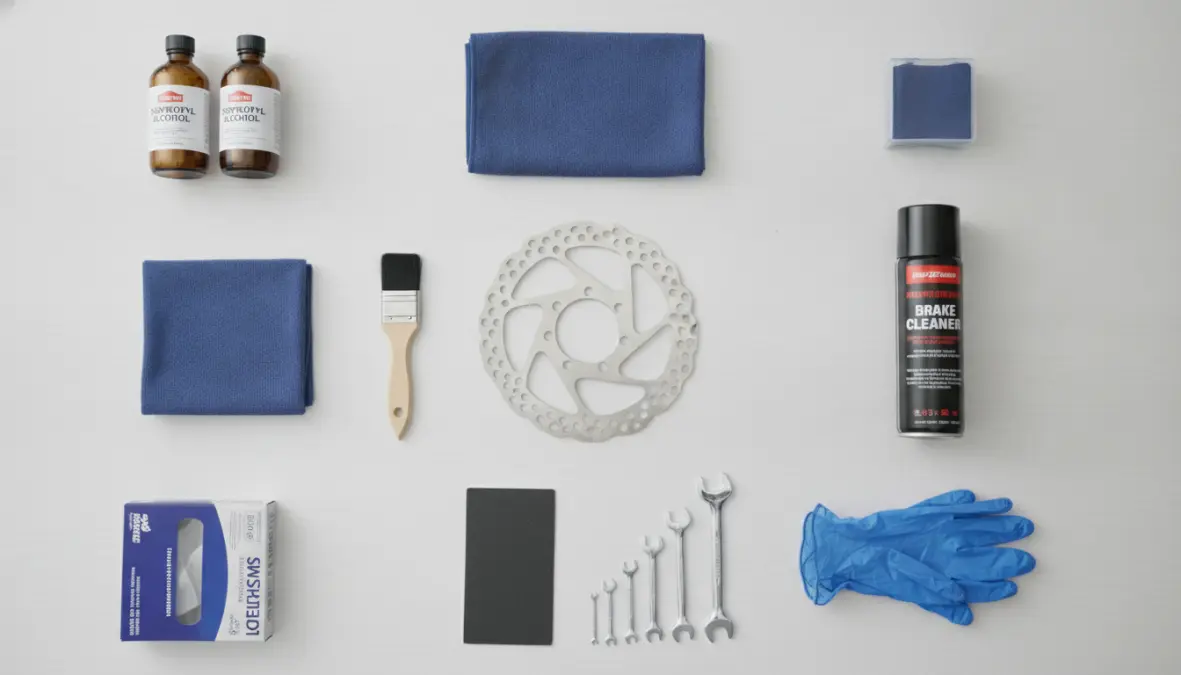
Before you start your brake rotor cleaning project, gather these essential supplies:
- Isopropyl alcohol (90% or higher concentration)—this is your primary cleaning agent
- Clean, lint-free rags or microfiber cloths
- Dedicated disc brake cleaner spray (optional but recommended)
- Disposable gloves to avoid transferring oils from your hands
- Soft-bristled brush for caliper cleaning
- Fine-grit sandpaper (320-400 grit) for pad resurfacing if needed
- Torx wrenches or Allen keys for pad removal
Important: Never use WD-40, general degreasers, dish soap, or any oil-based products near your brakes. These will contaminate your pads beyond recovery and destroy your braking performance.
Cleaning the Brake Rotors and Pads
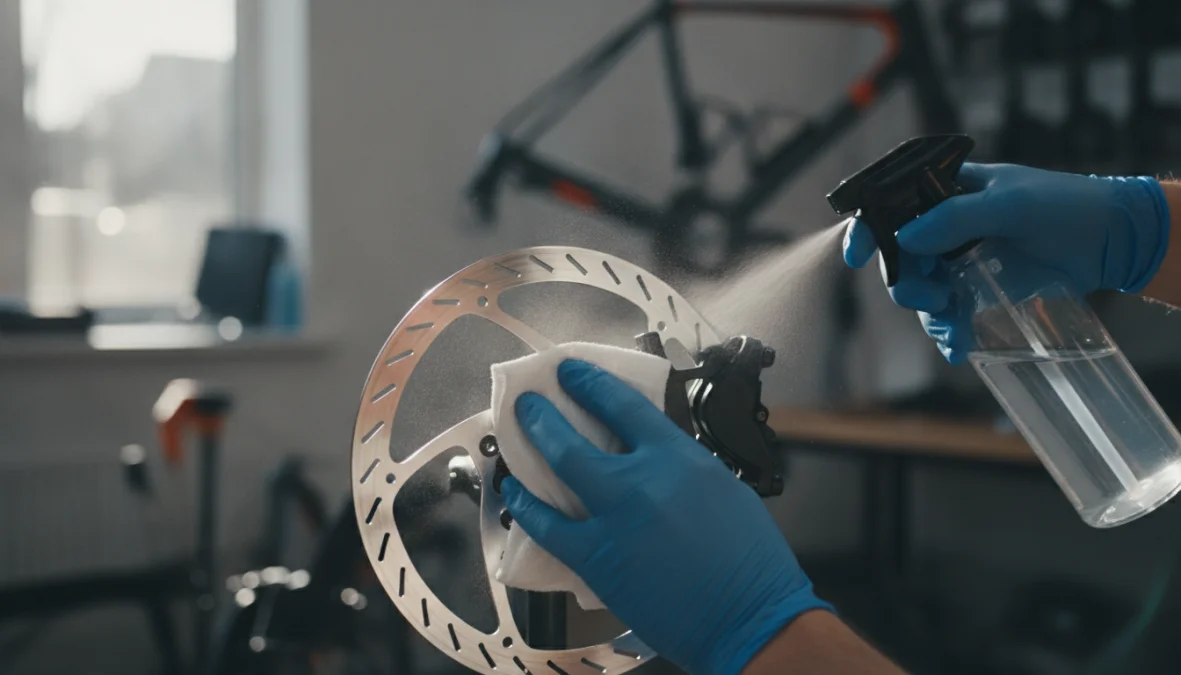
Start by removing the wheel to access the rotor properly. This is the best way to clean hydraulic disc brakes thoroughly. Spray or apply isopropyl alcohol cleaning solution generously onto the rotor surface, then wipe in a circular motion with a clean rag. Repeat this process 3-4 times, using a fresh section of the rag each time to avoid redepositing contaminants. You’ll be amazed at how much grime comes off, even from seemingly clean rotors.
For disc brake pads maintenance, inspect them carefully while the wheel is off. If they’re lightly contaminated (showing oil spots or discoloration on the surface only), you can clean disc brake pads road bike components by gently sanding the surface with fine-grit sandpaper. Use light, even strokes and remove just enough material to expose fresh pad compound—usually 5-10 passes. If contamination has penetrated deep into the pad (you’ll see oil throughout when you examine the edge), replacement is your only option.
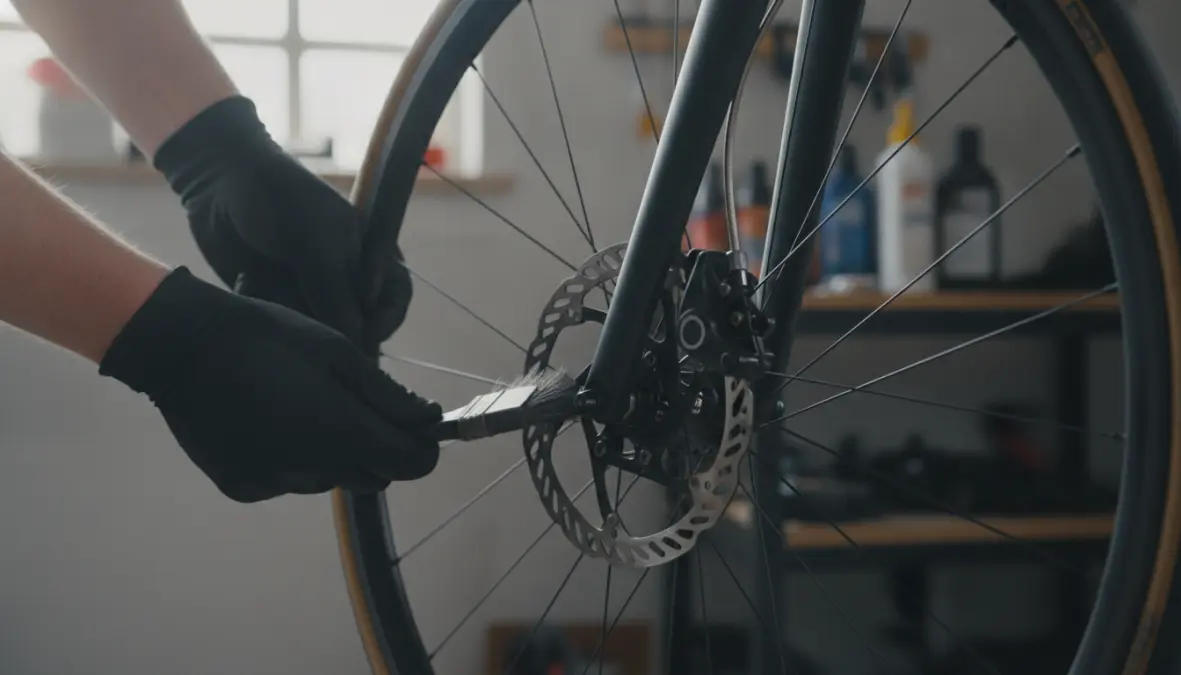
To properly remove brake dust from disc brakes, use your soft brush and isopropyl alcohol to clean inside the caliper body. Be gentle around the pistons—you don’t want to push them out accidentally. This step addresses brake rotor contamination at its source by removing built-up residue that can transfer back to clean rotors.
After reassembling everything with proper torque specifications, perform brake pad bedding. This critical step involves making 20-30 moderate stops from about 15-20 mph, allowing the brakes to cool between each one. This process transfers a thin layer of pad material onto the rotor, creating the optimal friction interface. Without proper bedding, your cleaned brakes won’t perform at their best and may squeal.
Disc Brake Care Tips and Troubleshooting
Knowing how often clean disc brakes bike components need attention depends on your riding conditions. For most road cyclists, cleaning every 3-4 weeks is sufficient. However, if you ride in wet conditions, after rain, or on dirty roads, clean them within 24 hours. Post-ride care makes a huge difference—a quick wipe-down of rotors after muddy or wet rides prevents contamination from setting in.
If you’re wondering how to clean squeaky disc brakes bicycle systems and the noise persists after cleaning, the issue might be brake caliper alignment. Misaligned calipers cause uneven pad contact, leading to vibration and noise. Check that your caliper is centered over the rotor with equal gap on both sides. Sometimes what seems like a cleaning issue is actually a mechanical adjustment problem.
Prevention is the best form of bike brake care. When lubricating your chain, shield your rotors with a piece of cardboard. Store your bike away from aerosol products and be mindful of where cleaning sprays drift. These simple habits dramatically reduce contamination incidents and contribute to effective brake fade prevention.
Replace pads when they’re worn down to 1.5mm thickness or less—most pads have wear indicator grooves that disappear when it’s time. Rotors should be replaced when they reach the minimum thickness stamped on the rotor (typically around 1.5-1.8mm) or show significant scoring. Continuing to use worn components compromises safety and can damage your expensive calipers.
For riders interested in optimizing their entire bike setup, proper bike positioning affects how you apply brake force and can reduce unnecessary wear on components.
FAQ
How often should I clean my disc brakes?
For regular road riding, every 3-4 weeks is ideal. Clean immediately after riding in rain, mud, or dusty conditions. If you notice reduced performance or noise, clean them regardless of schedule. Making this part of your routine maintain road bike disc brakes strategy prevents bigger issues.
Can I use water to clean disc brakes?
Water alone won’t effectively remove oils and contaminants. Always use isopropyl alcohol (90%+ concentration) or dedicated rotor cleaning solution. Water can be used for initial dirt removal on rotors, but must be followed with proper alcohol cleaning for optimal results.
Why are my disc brakes still squeaking after cleaning?
Persistent disc brake squeal after proper cleaning usually indicates contaminated pads that need replacement, caliper misalignment, or insufficient bedding. Ensure you’ve completed the full bedding process with 20-30 moderate stops. If squealing continues, check caliper alignment and consider replacing pads.
What’s the difference between cleaning hydraulic vs mechanical disc brakes?
The cleaning process for rotors and pads is identical for both systems. The key difference: hydraulic disc brakes cleaning requires extra caution around the caliper to avoid pushing pistons out or introducing contaminants into the sealed system. Mechanical systems have more exposed parts but are generally more forgiving of minor mistakes during maintenance.
Maintaining clean disc brakes isn’t complicated, but it makes an enormous difference in your riding experience. With consistent care and the techniques outlined here, you’ll enjoy reliable, quiet, and powerful braking performance ride after ride. Now get out there and put those freshly cleaned brakes to work—preferably on a beautiful descent where you can really appreciate the improved stopping power!