Cycling Rear Light Guide: Complete Visibility and Safety Technology Overview
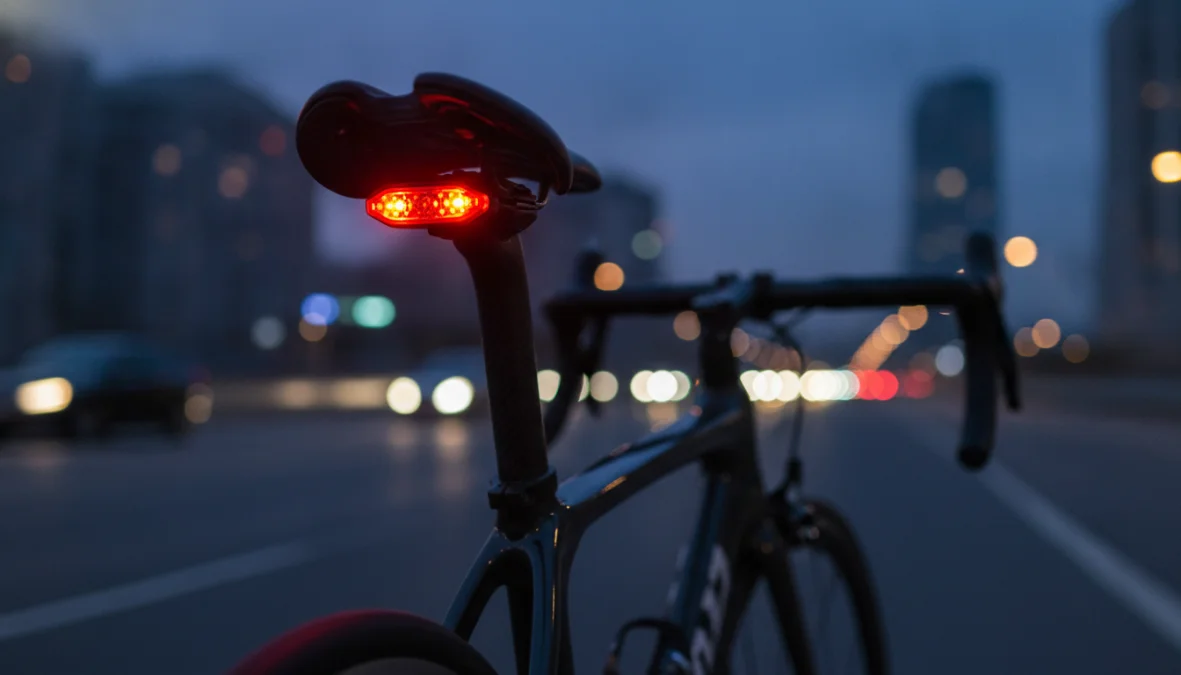
Ever been passed by a car so close you could feel the breeze, wondering if the driver even saw you? Or maybe you’ve squinted at another cyclist ahead, struggling to spot their light until you’re dangerously close. Here’s the thing: not all rear lights are created equal, and choosing the right one isn’t just about ticking a safety box—it’s about actually being seen when it matters most. This cycling rear light guide breaks down everything you need to know about modern bike tail light technology, from lumens to mounting options, so you can ride confidently in any conditions.
Why Rear Light Technology Matters for Cycling Safety
Let’s talk numbers for a second. Studies show that cyclists with proper rear light visibility are spotted up to 500 meters away by drivers, compared to just 50-100 meters for those without adequate lighting. That’s potentially several seconds of reaction time—the difference between a safe pass and a near-miss. Modern cycling safety lights have evolved dramatically from the dim, battery-draining bulbs of the past, thanks to LED technology that delivers serious brightness while sipping power.
But here’s what most riders don’t realize: being seen and being noticed are two different things. A steady light might be visible, but a strategically pulsing or flashing pattern catches the human eye more effectively, triggering that instant recognition in a driver’s brain that says “cyclist ahead.” The best lights combine multiple modes—steady beams for clear nights, rapid flashes for busy traffic, and pulse patterns that balance attention-grabbing with battery conservation.
Weather conditions change everything too. In bright daylight, fog, or rain, your rear light needs serious output to cut through. That’s why understanding bike light technology matters—different beam patterns, intensities, and flash rates perform differently depending on whether you’re commuting at dawn, training on dark winter roads, or riding through summer drizzle.
Key Features to Consider When Choosing a Bike Tail Light
Shopping for the best cycling rear lights can feel overwhelming with dozens of options screaming different specs at you. Let’s break down what actually matters when you’re comparing bike tail light reviews and trying to find the right fit for your riding.
Brightness measured in lumens is your starting point. Entry-level lights hover around 10-20 lumens, adequate for well-lit urban areas. Mid-range options sit at 40-100 lumens, suitable for most commuting and road riding. The brightest bicycle tail light options push 150+ lumens, essential for high-speed descents, rural roads, or daytime visibility. But remember: more lumens drain batteries faster, so you need balance.
Battery options split between disposable and rechargeable systems. Modern bike light technology increasingly favors USB rechargeable units for cost-effectiveness and convenience, though battery-powered lights still have their place (more on this below).
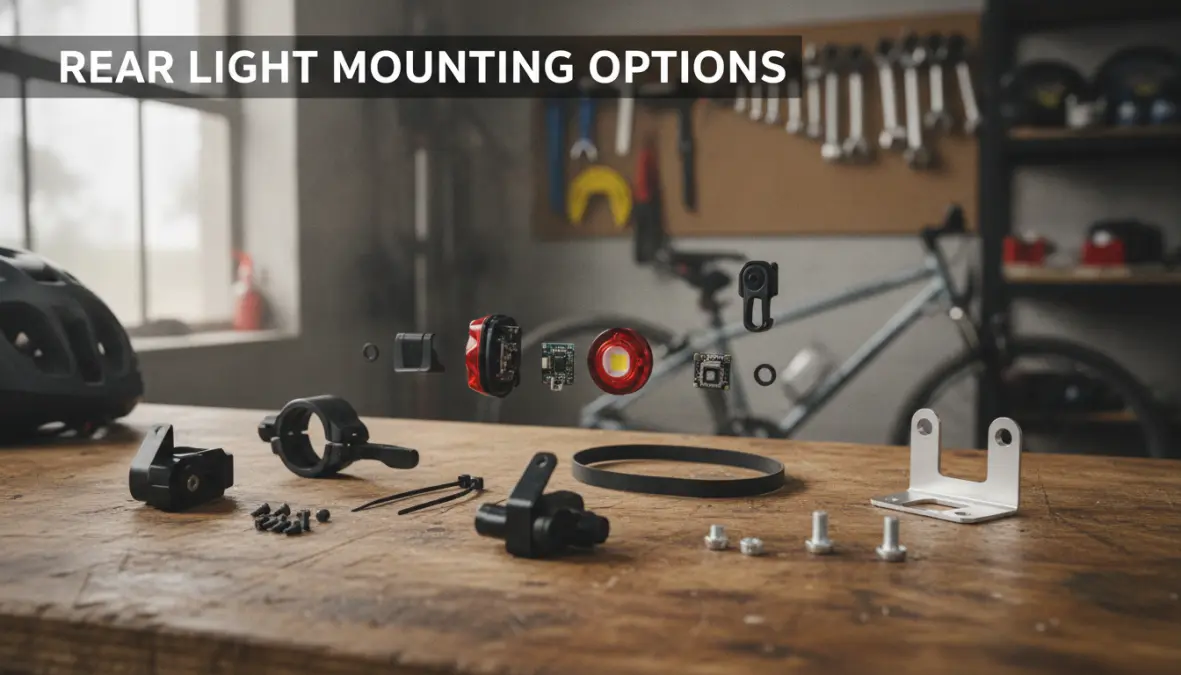
Mounting systems vary from simple rubber straps to sophisticated quick-release mechanisms. Consider compatibility with your seatpost mounting options—aero posts, seat stays, panniers, helmets, or even backpack clips. The best lights offer tool-free installation and rock-solid stability without scratching your frame.
Beam patterns determine how light spreads. Wide-angle designs (180°+) ensure visibility from multiple angles, crucial at intersections. Focused beams project further but with narrower coverage—ideal for straight roads where drivers approach from directly behind.
Water resistance ratings matter immensely. Look for at least IPX4 (splash-resistant) for fair-weather riding, but serious cyclists need IPX6 or IPX7 for proper weather protection. Nobody wants their light dying mid-ride in a downpour.
Runtime specifications tell you how long each mode lasts. High-intensity modes might run 2-4 hours, while eco or flash modes can extend to 20+ hours. Match runtime to your typical ride duration, and always know your battery life status.
Daytime running lights for bicycles represent newer technology specifically engineered for daylight visibility. These use specialized flash patterns and higher lumens output (typically 100+) designed to stand out against bright backgrounds—think of them as cycling’s answer to automotive DRLs.
Smart features on premium models include light sensors that auto-adjust brightness, brake sensors that intensify output when you slow down, and Bluetooth connectivity for battery monitoring through your phone. Whether these justify the price depends on your riding style and tech preferences.
Rechargeable vs Battery-Powered: What Works Best
The rechargeable rear bike light has become the default choice for most cyclists, and for good reason. USB charging (especially USB-C) means you can top up anywhere—at your desk, in a coffee shop, even from a portable power bank on long rides. Runtime comparison shows modern rechargeable lights lasting 6-30 hours depending on mode, with quick charge times of 1-3 hours. Over time, you’ll save considerably versus constantly buying disposable batteries, plus there’s the environmental angle to consider.
That said, battery-powered lights aren’t obsolete. Bikepacking enthusiasts and ultra-distance riders often prefer them because you can swap fresh batteries in seconds rather than hunting for charging points in remote areas. They’re also excellent as backup lights—throw one in your saddle bag with spare batteries and forget about it until needed.
For daily commuters, rechargeable wins hands-down. Long-distance tourers might want battery-powered primary lights or rechargeable mains with battery backups. Weekend warriors who ride occasionally? Either works, though rechargeable eliminates the “dead battery surprise” if you’re good about charging after rides. Whether you’re following a structured spring cycling training plan or heading out for multi-day bikepacking adventures, choose the power option that matches your charging access.
Understanding Brightness and Visibility Modes
Here’s where things get interesting. The brightest bicycle tail light isn’t necessarily the most visible one. Lumens measure total light output, but rear light visibility depends equally on flash pattern, beam angle, and contrast with surroundings. A 50-lumen light with an aggressive flash pattern can grab attention more effectively than a 100-lumen steady beam in certain conditions.
Most quality lights offer multiple light modes: steady (constant beam), flash (rapid on-off), pulse (rhythmic fade in-out), and sometimes randomized patterns. Steady modes work beautifully on quiet roads where drivers have time to process visual information. Flash modes excel in traffic or daytime, where the movement pattern triggers faster recognition. Pulse modes strike a balance, remaining visible while conserving battery better than steady modes.
Daytime running lights for bicycles specifically use ultra-bright, distinctive flash patterns engineered for daylight visibility. Research shows these significantly improve driver recognition distances in full sun—worth considering if you’re training during peak daylight hours or commuting in busy conditions.
Smart adaptive lights automatically adjust brightness based on ambient light sensors and speed sensors. They’ll boost output at higher speeds (when you need maximum visibility range) and dim in well-lit areas to preserve battery. It’s clever technology, though it adds cost and complexity.
The key is matching mode to conditions. Bright, rapid flash for city traffic. Pulse for mixed lighting. Steady for dark rural roads where you want drivers to accurately judge your distance and speed. Many riders run two lights simultaneously—one steady, one flashing—for maximum visibility and redundancy.
Top Rear Light Recommendations by Riding Style
When evaluating the best cycling rear lights, your riding style should drive your decision more than generic bike tail light reviews. Here’s what to prioritize for different disciplines.
Commuters need reliability above all. Look for lights with good daytime visibility (60+ lumens), long runtime in flash mode (10+ hours), easy USB charging, and robust water resistance IPX rating (IPX6 minimum). Budget options ($15-25) cover basics adequately. Mid-range ($25-50) adds better battery life, brighter output, and more mounting flexibility. Premium ($50+) delivers smart features like brake sensing and auto-brightness—useful if you’re commuting year-round in varying conditions.
Road cyclists prioritize lightweight designs with aero profiles that won’t add drag. Brightness matters during early morning or evening group rides—aim for 40-80 lumens with clear side visibility for peloton safety. Rechargeable models with quick-release mounts let you remove lights when locking bikes. Budget ($20-30) handles recreational riding. Mid-range ($30-60) offers better lumens output and runtime for serious training. Premium ($60+) provides race-day features like extended battery and ultra-lightweight construction. Just like optimizing your nutrition strategy using our cycling nutrition guide, choosing the right light setup can impact your performance and safety.
Mountain bikers need bombproof durability and flexible mounting since traditional seatpost mounting might not work with dropper posts. Look for lights that mount to seat stays, helmets, or backpacks. Impact resistance and serious weather sealing (IPX7) are essential. Budget ($25-35) gets you durable basics. Mid-range ($35-65) adds mounting versatility and higher output. Premium ($65+) includes helmet mounts, multiple light heads, and crash-resistant housings.
Bikepacking and touring cyclists face unique challenges—long distances from charging, varied terrain, and heavy loads. Battery-powered lights with 50+ hour runtime or rechargeable models with 20+ hours in eco mode work best. Multiple mounting options let you attach lights to panniers or trailers. Budget ($20-35) covers extended trips if you pack spare batteries. Mid-range ($35-70) provides rechargeable convenience with long runtime. Premium ($70+) offers solar charging compatibility or dynamo connectivity for unlimited power on extended long-distance rides.
FAQ
How many lumens for rear bike light?
For urban commuting, 20-50 lumens suffices. Rural or high-speed riding needs 50-100 lumens. Daytime visibility requires 100+ lumens. More lumens mean better visibility but shorter battery life, so choose based on your typical riding conditions and balance with runtime needs.
How long do rechargeable bike lights last?
Battery lifespan typically reaches 500-1000 charge cycles (2-5 years with regular use). Per-charge runtime varies dramatically: 2-4 hours on maximum brightness, 6-12 hours on medium modes, and 15-30+ hours on flash or eco modes. Always check manufacturer specifications for your specific model.
Can you use rear bike light during the day?
Absolutely—and you should. Daytime running lights significantly improve driver recognition. Choose lights with 60+ lumens and distinctive flash patterns specifically designed for daylight visibility. Studies show daytime light use reduces collision risk even in bright conditions, making it worthwhile for all riding.
Where should I mount my rear bike light?
Seatpost mounting is standard for maximum visibility at driver eye-level. Additional options include seat stays (for dropper posts), rear racks, panniers, helmets, or backpack clips. Many cyclists run two lights at different heights for redundancy and increased visibility from multiple angles—worth considering for night or poor-weather riding.
Are flashing or steady rear lights better?
Flashing lights grab attention more effectively in traffic and daylight, making them ideal for urban riding. Steady lights help drivers judge distance and speed accurately, better for dark rural roads. Many experienced cyclists use both simultaneously or switch modes based on conditions for optimal visibility and safety.
Choosing the right rear light isn’t rocket science, but it does require thinking beyond “brightest equals best.” Consider where and when you ride, how you’ll charge or replace batteries, and what mounting options work with your bike setup. Remember, the best light is the one that’s actually on your bike, charged, and switched on—so choose something that fits your routine and you’ll actually use consistently. Whether you’re riding in challenging conditions or transitioning to outdoor cycling, proper lighting keeps you visible and safe. Now get out there and be seen—drivers will thank you, even if they don’t realize it.