How to Brake Properly on a Road Bike: Master Safety and Control Techniques
Ever grabbed your brakes hard and felt that stomach-dropping moment when your rear wheel lifts? Or maybe you’ve skidded through a corner because you locked up your wheels? Mastering road bike braking technique isn’t just about slowing down—it’s about staying rubber-side down and in complete control, whether you’re navigating a hairpin descent or making a split-second stop to avoid a pothole. Let’s break down the science and skills that’ll transform you from a tentative brake-grabber into a confident, controlled rider.
Understanding Front and Rear Brake Control
Here’s the truth that surprises many cyclists: your front and rear brake control should never be equal. Physics dictates that during braking, weight transfers forward, pushing down on your front wheel and lightening your rear. This means your front brake provides roughly 70% of your stopping power, while the rear contributes about 30%. Think of it this way—your front brake does the heavy lifting, while your rear provides stability and fine-tuning.
The key to proper braking technique road bike is using both brakes simultaneously, but with different pressure. Your front brake (typically on the left lever in most countries) should receive more progressive pressure, while your rear brake prevents the back end from sliding out. Many beginners make the fatal mistake of relying solely on the rear brake, which dramatically increases road bike stopping distance and can cause dangerous skidding, especially on descents.
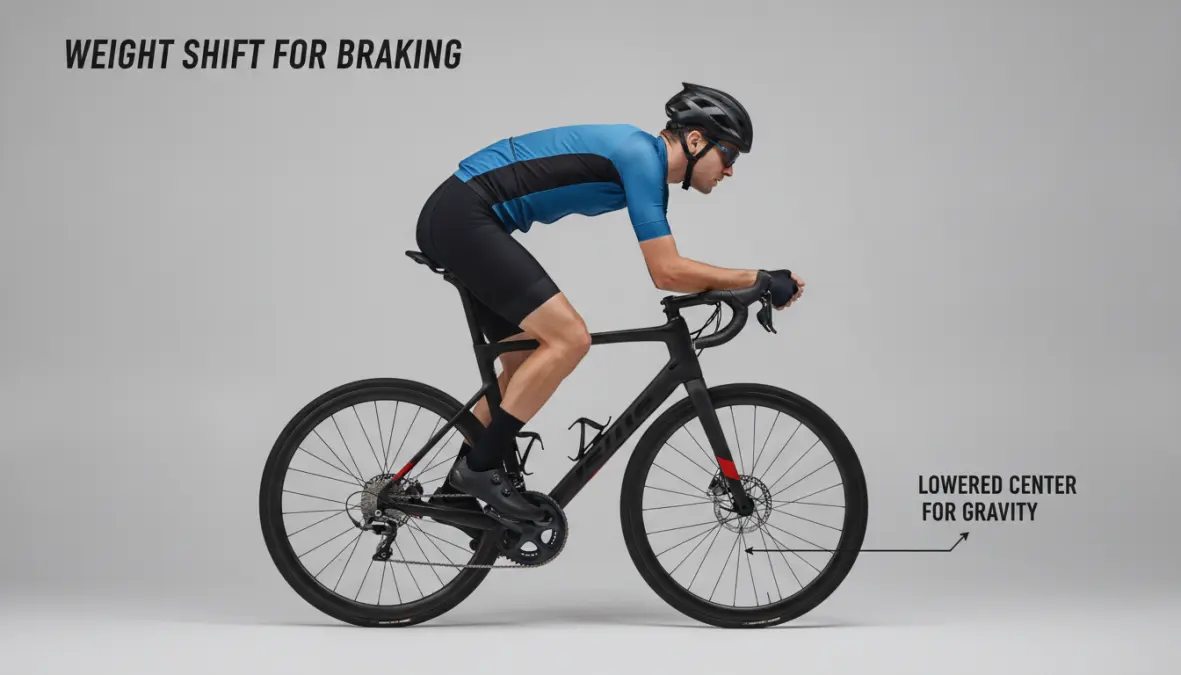
The difference between rim and disc brake technique matters too. Disc brakes offer more consistent power and require less lever pressure, meaning you need a lighter touch to avoid wheel lockup. Rim brakes, particularly in wet conditions, need more anticipation as they take a moment to clear water from the rims before gripping effectively. Your weight distribution while braking changes everything—shift your hips back slightly during hard braking to lower your center of gravity and prevent the dreaded front flip. This positioning also helps with traction and grip, keeping both wheels planted.
Essential Braking Techniques for Different Riding Conditions
Not all braking situations are created equal. The technique you use on a sunny group ride differs dramatically from emergency stopping or descending in the rain. Let’s explore how to adapt your approach to various scenarios you’ll encounter on the road.
Brake Modulation and Feathering for Smooth Control
Road bike brake modulation is the art of applying variable pressure to control your speed without locking wheels or creating jerky movements. Think of it like dimming a light switch rather than flicking it on and off. This technique, called “feathering,” involves applying light, pulsing pressure to the levers—particularly valuable when you need to scrub speed without committing to a full stop.
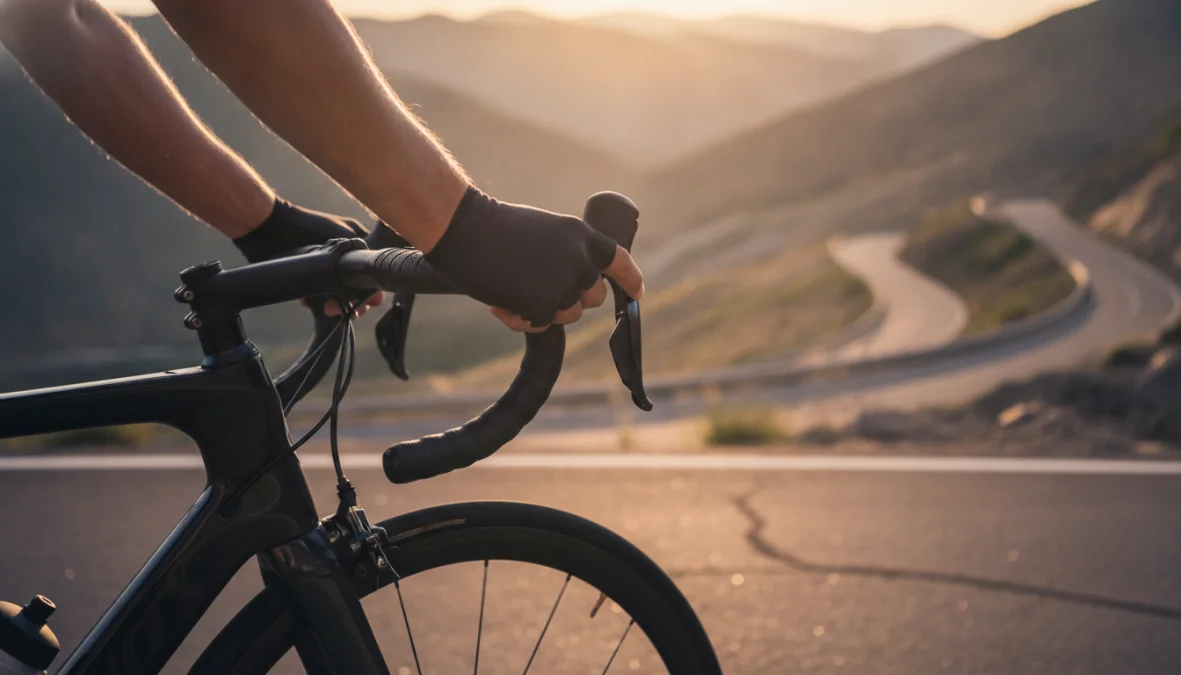
The secret to developing proper brake lever modulation is using one or two fingers (typically your index and middle fingers) on the levers while keeping your other fingers wrapped around the bars for control. This gives you the sensitivity to feel the threshold between maximum braking and wheel lockup prevention. Start practicing in a safe, empty parking lot: roll at moderate speed and gradually increase lever pressure until you feel the wheels begin to lose traction, then back off slightly. That sweet spot just before lockup is where maximum controlled braking happens.
For proper hand position for braking on road bike, keep your wrists straight and elbows slightly bent. This alignment gives you better leverage and prevents hand fatigue during long descents. Many cyclists tense up and death-grip the levers, which actually reduces control and causes arm pump. Stay relaxed, breathe, and let the brakes do their job.
Descending and Wet Weather Braking
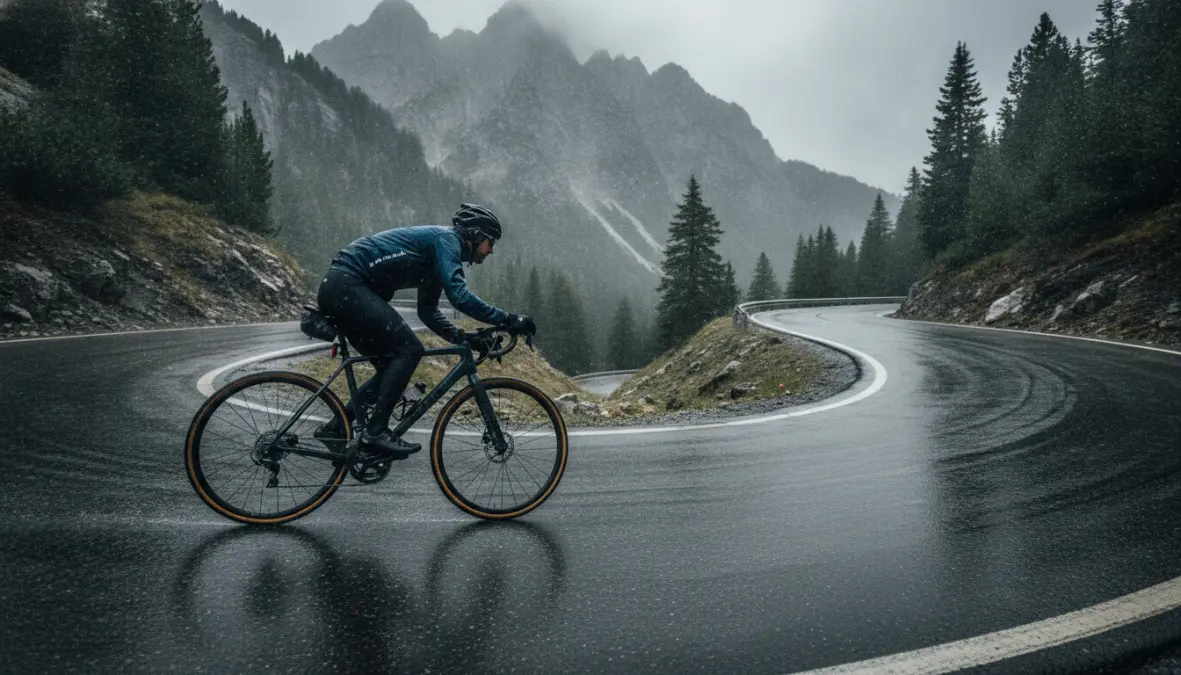
The golden rule for descending braking technique is simple: brake before the corner, not in it. As you approach a turn, scrub your speed in the straight section, then release the brakes as you lean into the corner. Braking mid-corner reduces available traction for turning and can cause a slide. For braking technique for steep descents road cycling, use intermittent braking rather than constant pressure to prevent brake fade—when your rims or rotors overheat and lose effectiveness.
On extended descents, alternate between front and rear brake to manage heat buildup. You’ll feel rim brakes becoming less effective as rims heat up (a serious concern that can even cause tire blowouts on extreme descents). With disc brakes, you might notice a slight decrease in power or smell heated pads. If you’re tackling serious mountain descents regularly, check out our guide on descending techniques for comprehensive downhill skills.
Braking in wet conditions cycling requires a complete mindset shift. Your stopping distance can double on wet roads, so increase your following distance and anticipate stops much earlier. Before committing to aggressive braking, test your brake’s grip with a few light squeezes to clear water from the braking surface. Apply pressure more gently and progressively—sudden braking on wet roads is a recipe for losing traction. The best braking technique for wet weather cycling is to brake earlier, lighter, and longer than you would in dry conditions.
Emergency Braking and Advanced Safety Tips
When a car door swings open or debris appears in your path, you need emergency braking road bike skills that become instinctive. The proper technique involves simultaneously shifting your weight back (getting your butt behind the saddle if possible) while applying maximum pressure to both brakes without locking the wheels. This isn’t the time for finesse—it’s controlled aggression.
The answer to how to use front brake without flipping lies in body position. As you apply hard front brake pressure, push your hips back and drop your chest toward the handlebars. This counteracts the forward weight transfer and keeps your rear wheel grounded. Practice this in a safe environment until it becomes muscle memory. Your road bike stopping distance from 20 mph (32 km/h) should be roughly 15-20 feet under ideal conditions with proper technique, but double that in the wet.
To practice emergency stops safely, find an empty parking lot or quiet road. Mark out distances and practice stopping from various speeds, gradually building up intensity. This training pays dividends when seconds count. Remember that how to prevent skidding when braking on road bike comes down to staying just below the lockup threshold—if you feel wheels starting to skid, release pressure slightly and reapply.
Before every ride, perform a basic brake check: squeeze each lever to ensure firm resistance and proper pad contact. Worn brake pads (especially on rim brakes) dramatically reduce stopping power and increase danger. Proper bike maintenance, including brake adjustments, goes hand-in-hand with technique—learn more in our bike fitting guide which covers overall bike setup for safety and performance.
FAQ
Should I use front or rear brake first?
Use both simultaneously, but apply more pressure to the front brake (about 70/30 ratio). Your front brake provides the majority of stopping power due to forward weight transfer. Never rely on rear brake alone.
Why does my bike flip when I brake hard?
This happens when too much weight transfers forward without proper body positioning. Shift your hips back and lower your center of gravity during hard braking. Keep elbows bent and chest low to counteract the forward momentum.
How do I avoid skidding when braking?
Apply progressive, modulated pressure rather than grabbing the brakes suddenly. Learn to feel the point just before wheel lockup and stay below that threshold. In wet conditions or loose surfaces, brake earlier with lighter pressure.
What’s the proper stopping distance for a road bike?
From 20 mph on dry pavement with proper technique, expect 15-20 feet. In wet conditions, double this distance. Always leave more space than you think you need, especially in traffic or group rides.
How often should I replace brake pads?
Rim brake pads should be replaced when grooves disappear or you see less than 2-3mm of pad material. Disc brake pads typically last 500-1000 miles depending on conditions and riding style. Check them monthly and always before long descents.
Mastering braking technique transforms your confidence on the bike. Whether you’re tackling descents, navigating traffic, or simply want smoother cadence control on group rides, these skills keep you safe and in command. Practice regularly, stay aware of conditions, and remember—the best riders aren’t always the fastest, they’re the ones who can stop exactly when and where they need to. Now get out there and put these techniques to work, starting slow and building up as your muscle memory develops. Your future self will thank you when that emergency stop saves the day.