Cycling Aerodynamics: How Position and Equipment Deliver Free Speed
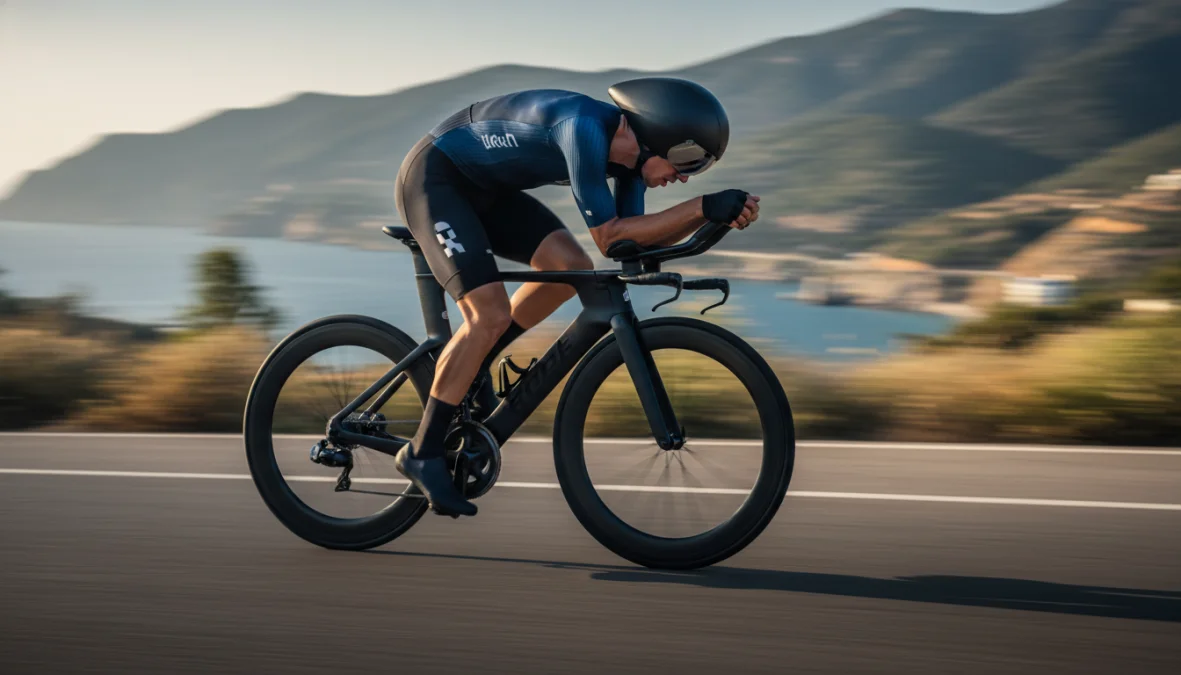
Ever wonder why professional cyclists obsess over seemingly tiny details like tape jobs and clothing choices? Here’s the truth: at racing speeds, roughly 90% of your effort goes into pushing air out of the way. That’s right—you’re not fighting the road or even gravity most of the time. You’re battling an invisible wall of wind resistance. The good news? Understanding cycling aerodynamics can unlock free speed without training another mile or spending hours in the gym. Whether you’re chasing podiums or personal records, mastering aero principles delivers measurable performance gains that feel like cheating (but totally aren’t).
Understanding Cycling Aerodynamics: Why It Matters More Than Weight
Let’s start with the basics of cycling aerodynamics and why it should matter to you. When you ride, you encounter aerodynamic drag—essentially air resistance fighting against your forward motion. This force increases exponentially with speed, which is why pushing from 30 to 35 km/h feels dramatically harder than going from 20 to 25 km/h.
The magic number to remember: above 25 km/h (about 15.5 mph), aerodynamic drag becomes your biggest enemy, far outweighing factors like rolling resistance and even gradient on moderate climbs. Here’s where bike aerodynamics gets interesting—studies consistently show that 70-80% of total aerodynamic drag comes from your body, not your bike. Your frame, wheels, and components? They’re only responsible for 20-30% of the resistance equation.
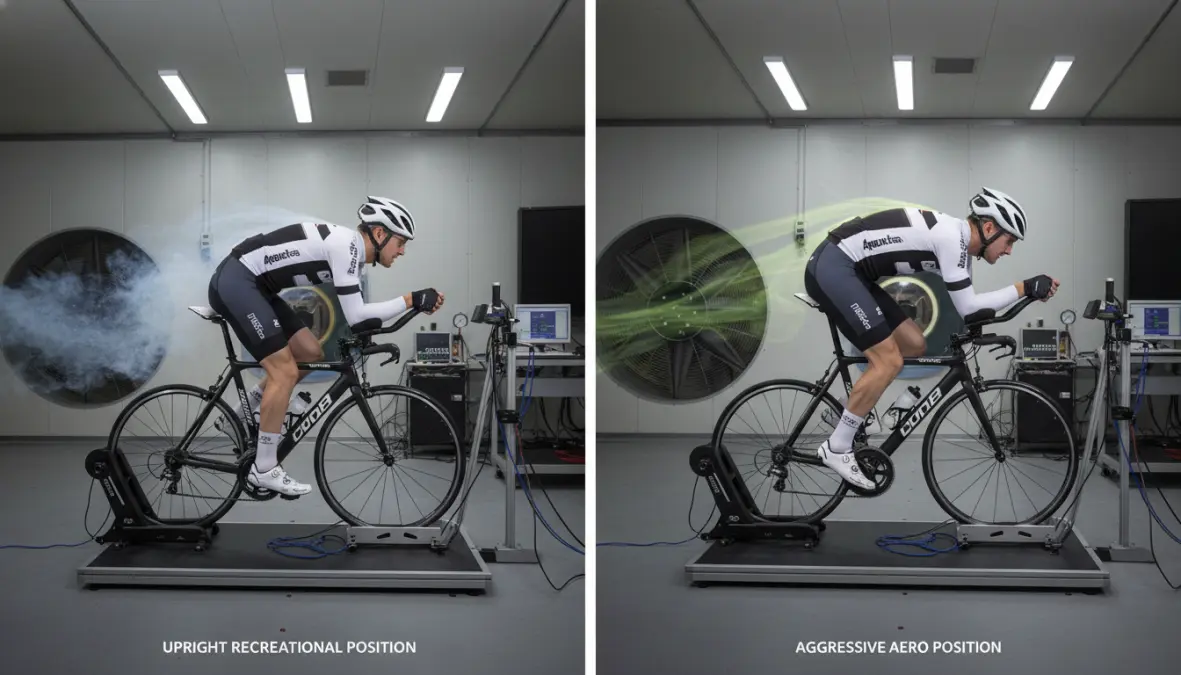
The industry measures this through the CdA coefficient (coefficient of drag area), which combines your drag coefficient with your frontal area. A typical recreational rider in an upright position might have a CdA of 0.40-0.45, while a pro time trialist can achieve 0.20-0.25. Each 0.01 reduction in CdA saves roughly 2-3 watts at 40 km/h—and those watts add up fast. Drop your CdA from 0.35 to 0.30, and you’ve just saved 10-15 watts without pedaling any harder. That’s the equivalent of a significant fitness improvement, delivered instantly through drag reduction cycling techniques.
Optimizing Your Cycling Position for Maximum Aerodynamic Efficiency
Now we’re getting to the money-saving part—literally. Improving your cycling position costs nothing and delivers the biggest aerodynamic gains available. Before dropping thousands on aero wheels, spend time perfecting how you sit on the bike you already own.
Body Position Fundamentals: Head, Torso, and Arm Placement
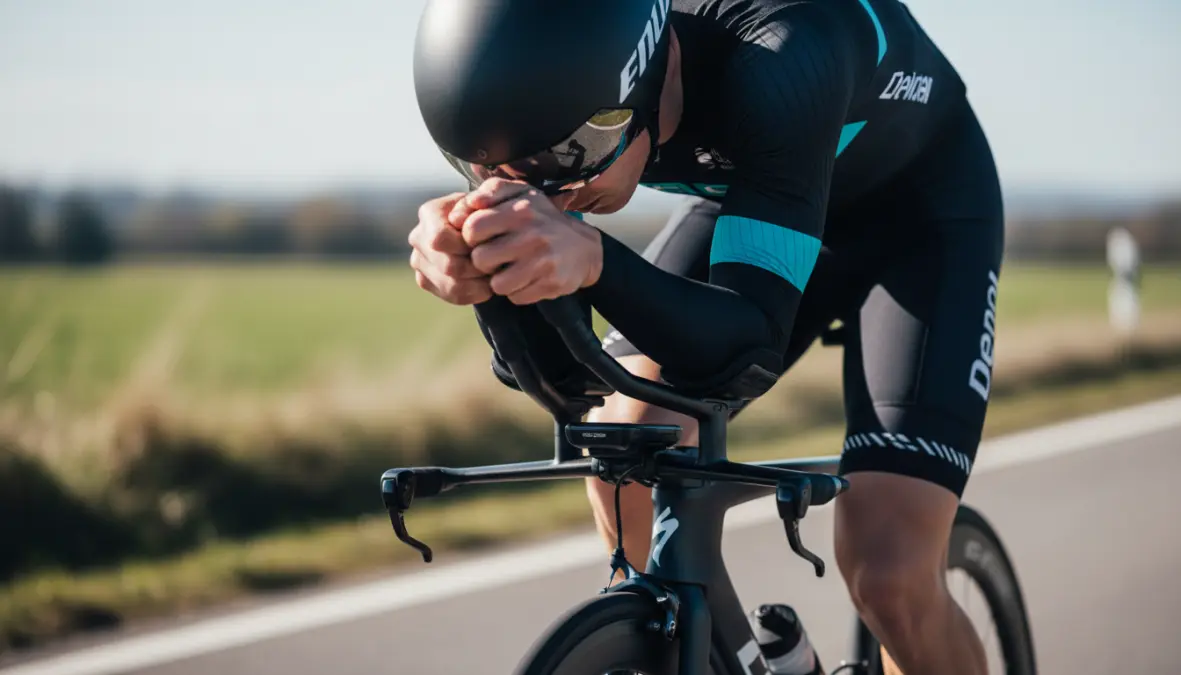
Your head position makes a massive difference. Keep your neck low and look forward through your eyebrows rather than lifting your entire head. Yes, it’s uncomfortable at first, but that upright head position acts like a parachute. Your torso should create as flat a profile as possible—think tabletop, not rainbow. A flat back with a slight natural curve beats an exaggerated hunch, which can actually increase turbulence.
Arm placement separates decent from exceptional aerodynamic cycling gear positioning. Pull your elbows in tight—imagine trying to fit through a narrow doorway. Keep your forearms parallel to each other and as close to horizontal as flexibility allows. The difference between a standard road racing position (hands on hoods) and a proper time trial position (on aero bars) can save 30-50 watts at racing speeds. That’s enormous.
The challenge? Balancing aerodynamics with power output and comfort. An ultra-aggressive position that compromises your breathing or closes your hip angle might hurt more than it helps, especially on longer efforts. The best approach for how to improve cycling aerodynamics involves gradual adaptation—spend 10-15 minutes each ride practicing your aero position, slowly building the flexibility and core strength needed to maintain it.
Bike Fit Adjustments: Saddle Height, Reach, and Stack
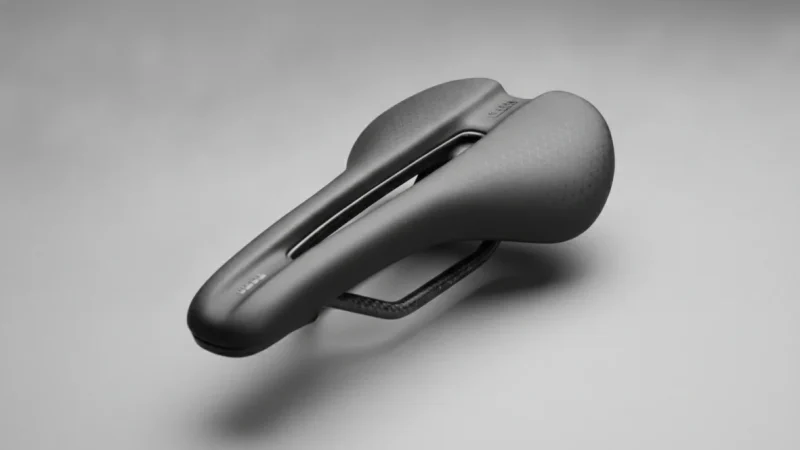
Getting your best aerodynamic position on a bike often requires fit adjustments. Saddle height typically stays near your standard climbing position, but you might experiment with 5-10mm adjustments. Saddle fore-aft position becomes critical in aero setups—too far forward closes your hip angle and kills power; too far back opens your frontal area.
Stem length and angle determine your reach and stack, directly impacting how low you can comfortably ride. A longer, lower stem creates a more aggressive position, but only if your flexibility supports it. For time trials and triathlons, aero bars transform your position entirely, allowing that narrow, low profile while maintaining comfort over extended efforts. Check out our comprehensive bike fitting guide for detailed position optimization strategies.
Professional wind tunnel testing remains the gold standard for position optimization, though power meter testing on consistent road sections offers a practical alternative. Test different positions at constant power outputs and record your speed—faster at the same watts means better aerodynamics.
Aero Equipment and Bike Setup: What Actually Makes You Faster
Once you’ve optimized position, aero equipment provides the next performance layer. But here’s the catch: not all upgrades deliver equal returns, and the marketing hype often exceeds reality.
Frame, Wheels, and Component Selection
The aero bike frame debate rages on, but data shows modern aero frames save 15-30 watts versus traditional round-tube designs at 40 km/h. However, lightweight frames still make sense for mountainous terrain where climbing dominates. Your aero bike setup decision should match your racing priorities.
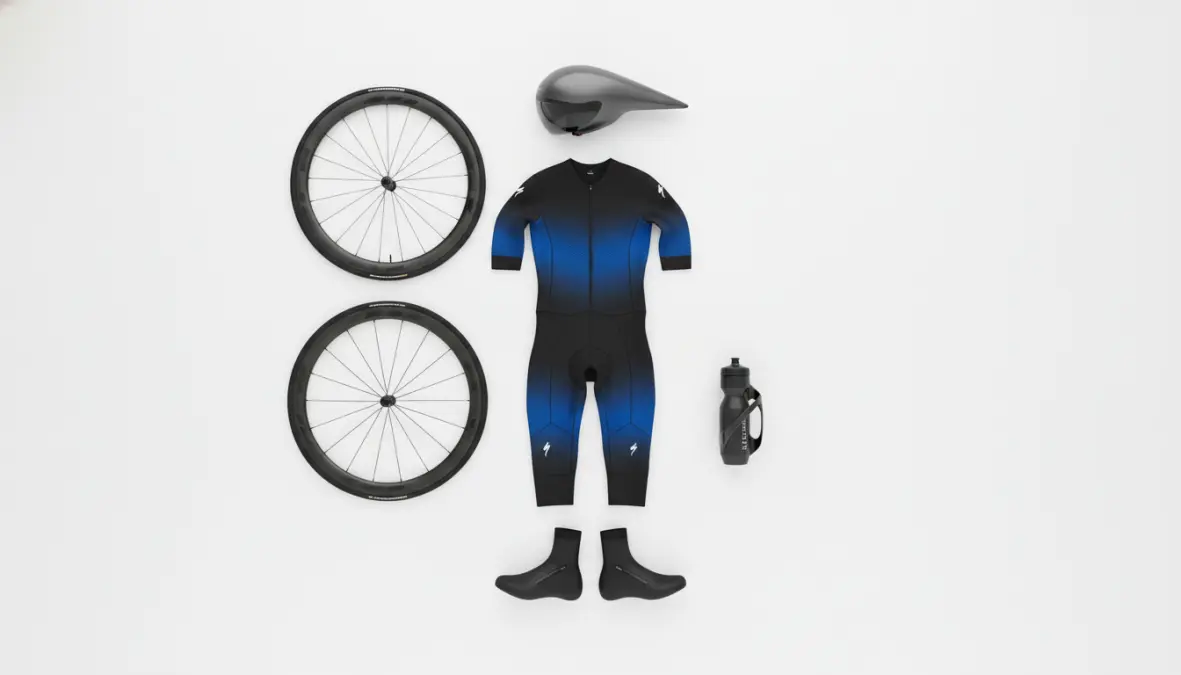
Wheels deserve special attention because they work incredibly well. Deep-section aero wheels (40-80mm) reduce drag significantly, with the front wheel contributing more aerodynamic benefit than the rear. A quality 50-60mm front wheel typically saves 10-20 watts versus a traditional shallow rim—one reason why wondering how much faster are aero wheels leads most serious riders to upgrade wheels before frames. Just remember that deeper wheels catch crosswinds more, requiring bike-handling confidence.
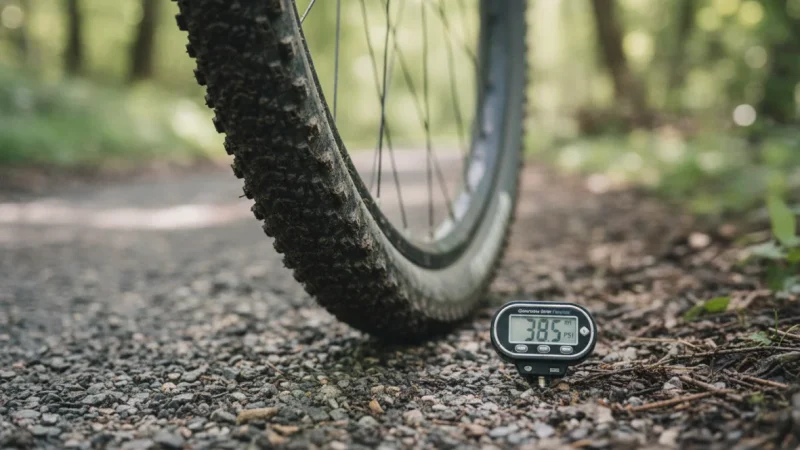
Modern integrated components—combined handlebars/stems, aero seatposts, internal cable routing—polish your aero bike setup further. Tire choice matters too: slightly wider tires (25-28mm) at optimized pressures often roll faster while maintaining aero properties. Every upgrade choice should consider the power-saving return on investment.
Clothing, Helmets, and Accessories That Reduce Drag
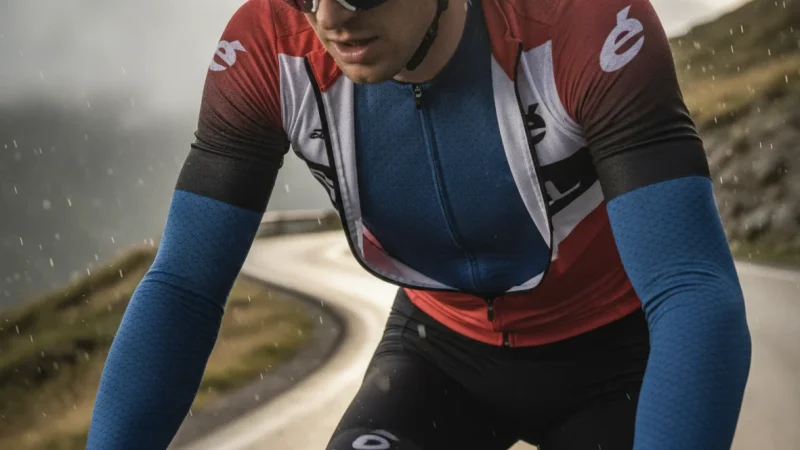
Your clothing selection impacts aerodynamics more than most riders realize. Tight-fitting skinsuits beat traditional jerseys and shorts by 10-15 watts, while loose or flapping fabric creates chaos behind you. Technical fabrics with textured surfaces (dimpled or ribbed) can actually trip airflow beneficially, reducing drag compared to smooth materials.
Helmet choice depends on your priority: aero helmets with elongated tails save 5-10 watts in time trial scenarios, while ventilated road helmets sacrifice some aerodynamics for cooling. The answer to cycling clothing for better aerodynamics often lies in event-specific choices—wear the aero helmet for flat time trials, the vented one for hot mountain stages. Shoe covers, though annoying to put on, smooth the transition from your leg to your shoe, worth 2-5 watts.
Details matter with frontal area reduction: bottle placement (behind the seat or between aero bars beats standard frame cages), exposed cables (internal routing helps), even leg hair (yes, shaving saves measurable watts, though small). Combine these cheapest aero upgrades for cycling strategically—position first, then clothing, then components—for maximum bang per buck. Building fitness through structured training like our spring training programs and optimizing pedaling efficiency complements aerodynamic gains perfectly.
FAQ: Common Questions About Cycling Aerodynamics
How much faster does an aero bike make you?
A quality aero bike typically saves 15-30 watts at 40 km/h compared to traditional frames, translating to roughly 0.5-1 km/h faster at the same power output. Over a 40km time trial, that’s 1-2 minutes—significant for competitive racing, less critical for recreational riding where position matters more.
What’s more important: aero wheels or aero frame?
Aero wheels generally deliver better return on investment. A deep-section front wheel (50-60mm) provides 10-20 watts savings, comparable to many frame upgrades but usually at lower cost. Start with wheels, especially if your current ones are shallow or heavy. The frame comes later when chasing marginal gains.
Does cycling position really matter for recreational riders?
Absolutely. Position improvements cost nothing and work at any speed above 25 km/h. Even recreational riders benefit from 10-20 watts saved through better body positioning. That’s the difference between comfortably holding a group pace or struggling off the back. Your optimal cycling position for speed balances aerodynamics with sustainable power output.
How can I test my aerodynamic improvements?
While wind tunnel testing for cyclists provides precise data, most riders use field testing with power meters. Find a flat, low-traffic route and ride multiple timed efforts at constant power (say, 250 watts) in different positions or with different equipment. Higher average speed at identical power means better aerodynamics. Wind conditions matter, so test multiple times.
What are the easiest aero gains for beginners?
Start with position: lower your torso, pull elbows in, drop your head. Next, wear fitted clothing—even standard cycling kit that fits well beats loose clothing. Remove unnecessary accessories like saddlebags or frame pumps during fast rides. These changes cost nothing and deliver 20-30 watts combined—massive gains without buying anything.
Mastering cycling aerodynamics transforms your riding without requiring heroic training volumes or miraculous fitness breakthroughs. The physics work for everyone: reduce your CdA, and you’ll ride faster at the same effort or maintain speed with less suffering. Start with position optimization—it’s free and delivers the biggest returns. Layer in smart equipment choices as your budget allows, always testing and validating improvements. Combined with proper nutrition strategies and mental preparation, aerodynamic optimization becomes your secret weapon for faster splits and better results. The wind’s always blowing—now you know how to slip through it.