Lactate Threshold Testing at Home: Complete DIY Protocols Without Lab Equipment
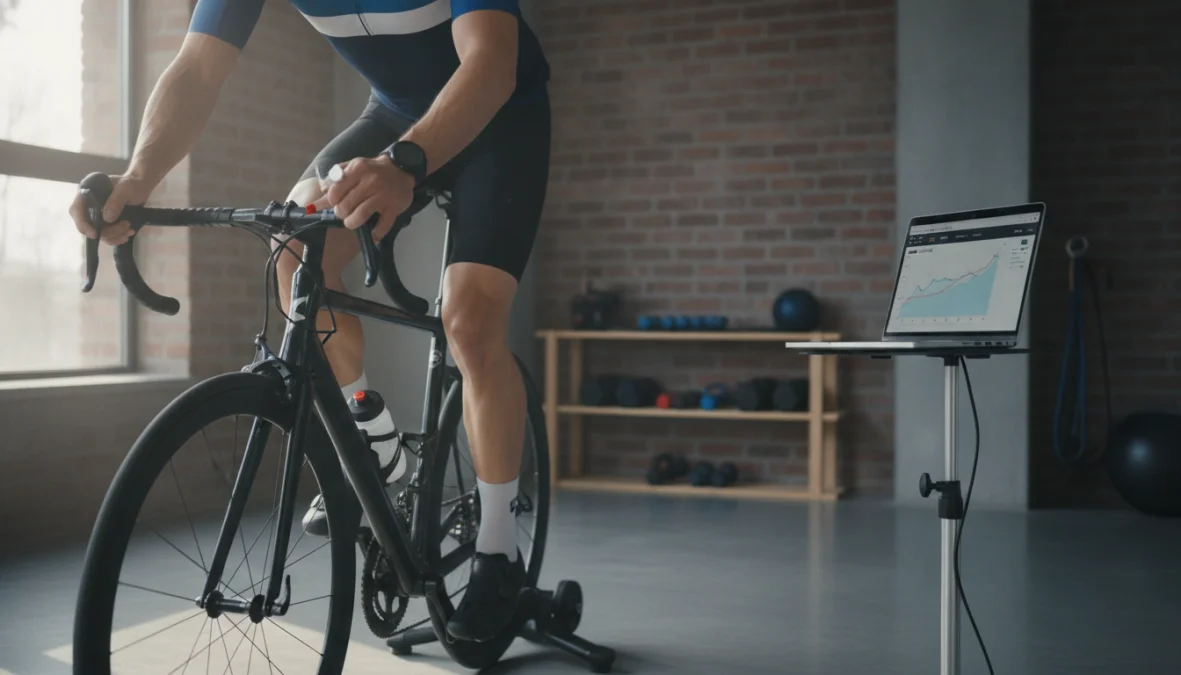
You’re crushing your workouts, seeing gains, but wondering if you’re training at the right intensity. Professional athletes shell out hundreds for lab-based lactate threshold testing, but what if you could get meaningful insights from lactate threshold testing home protocols? The good news: you absolutely can. Whether you’re a runner chasing PRs or a cyclist optimizing functional threshold power, at-home testing methods can revolutionize how you approach endurance training protocols without breaking the bank.
Understanding Lactate Threshold and Why Home Testing Matters
Your lactate threshold is the exercise intensity where lactate begins accumulating faster than your body can clear it—essentially the sweet spot between comfortable and “my legs are on fire.” For endurance athletes, training at or near this point maximizes aerobic adaptations without tipping into counterproductive fatigue. Traditional lab testing provides precise data, but at-home lactate measurement offers compelling advantages.
The cost difference alone is staggering: professional testing runs $150-300 per session, while lactate threshold testing home methods range from free (field tests) to a one-time $300 investment in portable meters. More importantly, home testing lets you track changes frequently—monthly or even bi-weekly during focused training blocks—something financially impractical with lab visits.
Let’s be realistic about limitations: DIY methods won’t match lab-grade precision. Professional tests control variables meticulously and provide exact lactate concentrations. Home protocols yield functional approximations—but for most recreational and competitive athletes, these approximations are more than adequate for structuring heart rate training zones and programming workouts effectively.
DIY Lactate Threshold Testing Methods: From Basic to Advanced
The beauty of home lactate threshold protocol options is their range—from zero-equipment field tests to semi-professional setups. Here’s your comprehensive guide to DIY lactate testing across the spectrum.
Field Tests Without Equipment: Heart Rate and Perceived Exertion Methods
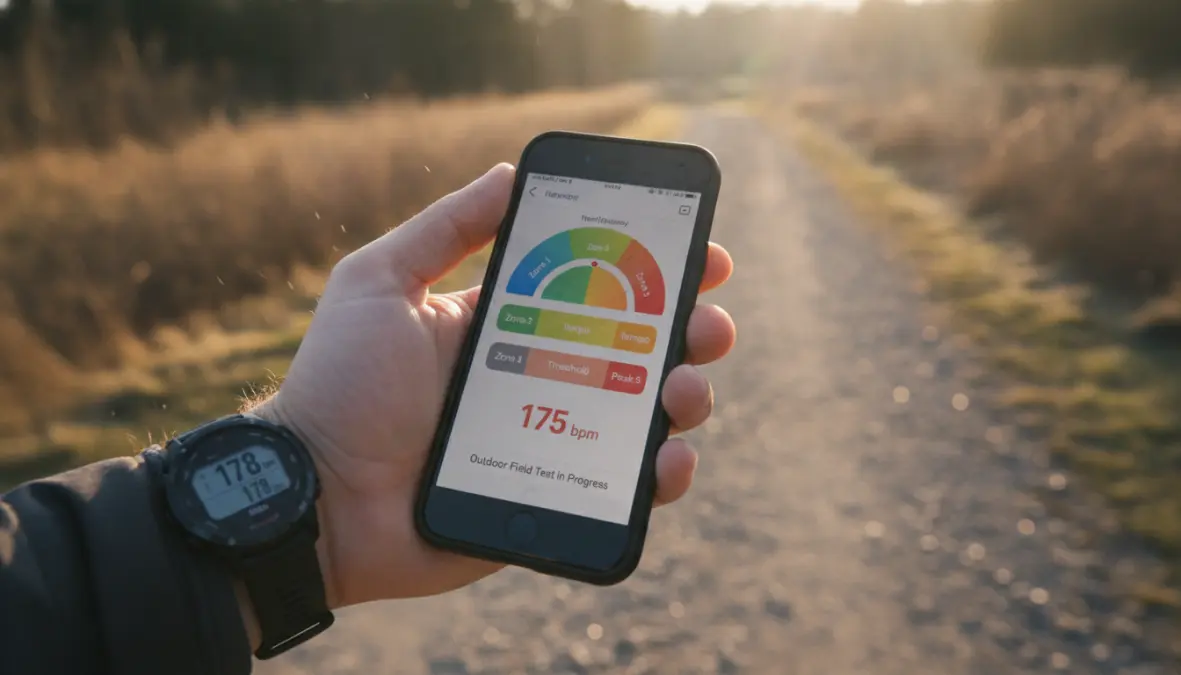
The 30-minute time trial remains the gold standard for lactate threshold test at home without equipment. After a thorough warm-up, run or cycle at the hardest sustainable pace for 30 minutes. Your average heart rate during the final 20 minutes approximates your lactate threshold heart rate. This method requires honest pacing—go out too hard and you’ll crash; too conservative and you’ll underestimate your threshold.
The talk test offers surprising accuracy for beginners. During a progressive warm-up, gradually increase intensity until maintaining conversation becomes difficult but short phrases remain possible. This “ventilatory threshold” closely corresponds to lactate threshold for most athletes. While less precise than numerical methods, it’s immediately actionable and requires zero equipment.
Heart rate deflection testing involves a progressive step-test: start easy and increase pace every 3-5 minutes while monitoring heart rate. Plot heart rate against pace afterward. The point where heart rate begins rising disproportionately to pace increases indicates your threshold. Runners might do 5-minute intervals starting at easy pace and increasing by 15 seconds per mile each stage. Cyclists can use power or perceived effort if lacking a power meter.
The RPE-based protocol systematizes perceived exertion: perform intervals at efforts corresponding to 4/10, 5/10, 6/10, 7/10, and 8/10 on a difficulty scale, recording average heart rate for each. Your threshold typically sits around 7/10—”comfortably hard” but sustainable for 30-60 minutes. This self-administered lactate test approach develops invaluable body awareness over time.
Portable Lactate Meter Testing: Semi-Professional Home Protocols
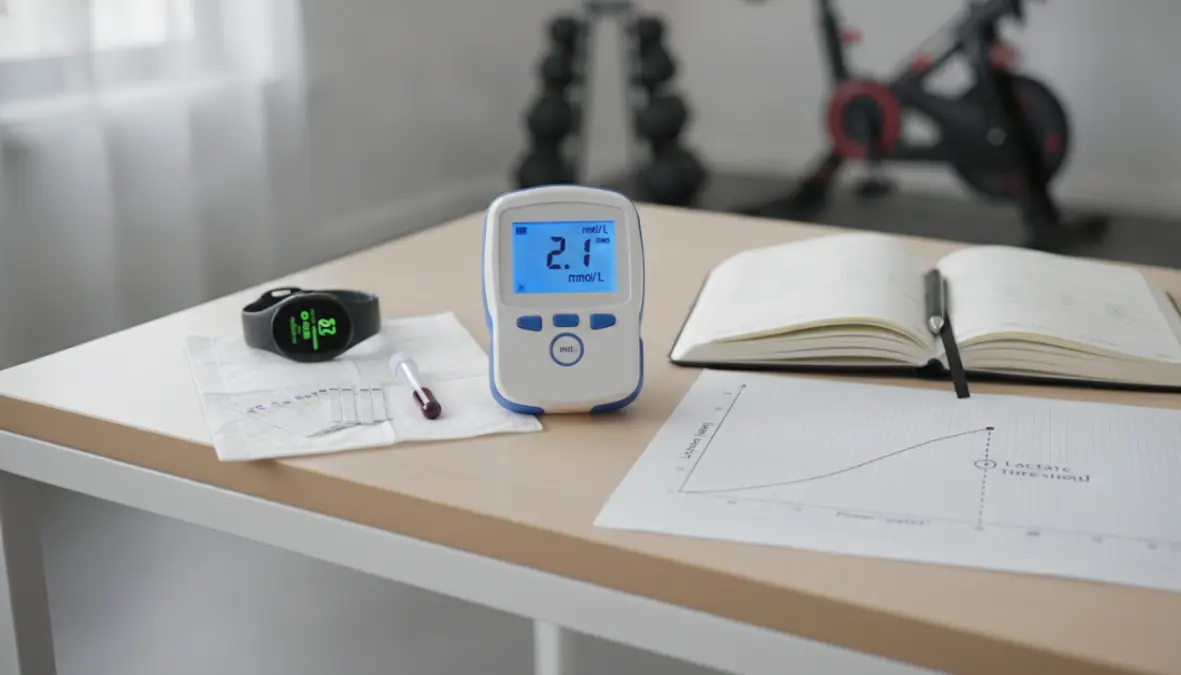
For athletes wanting accurate lactate testing at home for cyclists and runners, portable blood lactate meters like the Lactate Plus or Lactate Scout ($300-400) deliver lab-comparable data. These devices measure blood lactate concentration from fingertip samples, just like glucose meters for diabetics.
The standard incremental step-test protocol works perfectly for lactate testing without lab constraints. After warming up, perform 4-minute stages at progressively higher intensities, taking a blood sample during the final 30 seconds of each stage. Start conservatively—around 60% of maximum effort—and increase 5-10% each stage. Record lactate readings and corresponding heart rate or power output.
Plot your results with intensity on the x-axis and lactate concentration on the y-axis. Your lactate threshold appears where the curve steepens noticeably—typically between 2-4 mmol/L for trained athletes. The heart rate or power at this inflection point becomes your training benchmark. Test strips cost $2-3 each, so a complete test runs $20-30 in consumables—still far cheaper than professional testing. This data integrates beautifully with structured training programs balancing multiple fitness components.
Implementing Your Home Testing Protocol: Best Practices and Common Mistakes
Reliable home-based threshold testing demands consistent conditions. Schedule tests at the same time of day, ideally morning after a rest day. Avoid heavy meals within 3 hours and caffeine within 2 hours before testing. A proper 15-20 minute progressive warm-up is non-negotiable—cold muscles skew results dramatically.
Environmental consistency matters more than you’d think. Testing outdoors? Wind, temperature, and terrain variations create noise in your data. Indoor testing on a treadmill or trainer provides superior repeatability. If you must test outside, choose a flat, sheltered route you can replicate exactly.
Test frequency depends on your training phase. During base building, quarterly testing suffices. When targeting specific events or pushing VO2 max testing improvements, monthly checks help fine-tune intensity zones. Avoid testing during recovery weeks or when fatigued from high-intensity interval training.
Common mistakes sabotage otherwise solid protocols. Inconsistent pacing during field tests—starting too aggressively or conservatively—yields unreliable data. With lactate meters, inadequate finger warming produces lower readings; run warm water over hands before sampling. Perhaps the biggest error: overcomplicating interpretation. Your threshold is a training guide, not a rigid limit. Small variations between tests are normal—focus on trends over months, not test-to-test fluctuations.
When should you spring for professional testing? If you’re preparing for major competitions, have access through a team, or notice confusing inconsistencies in home results, lab validation provides peace of mind and catches issues DIY methods might miss.
FAQ
How accurate is home lactate threshold testing compared to lab testing?
Field tests typically estimate within 3-5 beats per minute of lab-determined threshold heart rate. Portable lactate meters achieve accuracy within 0.2-0.5 mmol/L of lab equipment when used correctly—clinically acceptable precision for training purposes.
How much does a portable lactate meter cost?
Quality devices like Lactate Plus or Lactate Scout run $300-400 initially, with test strips costing $2-3 each. Budget roughly $30 per complete threshold test in consumables—still dramatically cheaper than repeated lab visits.
Can I perform lactate threshold testing alone?
Absolutely. Field tests require only a timer and heart rate monitor. Even lactate meter protocols are manageable solo with practice, though a training partner helps maintain consistent pacing and assists with sampling during cycling tests.
Which home testing method works best for beginners?
Start with the 30-minute time trial or talk test. These require minimal equipment and develop crucial pacing skills. Graduate to heart rate deflection or lactate meters as you gain experience and commit to structured training.
How often should I test my lactate threshold?
Monthly during focused training blocks, quarterly during maintenance phases. More frequent testing doesn’t improve training—it just accumulates data. Allow 4-6 weeks between tests for physiological adaptations to manifest.
How do I use threshold test results in training?
Your threshold heart rate or power defines training zones. Easy runs sit 20-30 beats below threshold; tempo run testing targets threshold heart rate; intervals push 10-20 beats above. Structure weeks around these zones to maximize adaptations while managing fatigue.
Home lactate threshold testing democratizes performance optimization previously reserved for elite athletes. Whether you’re using free field tests or investing in portable meters, consistent testing provides the physiological feedback needed to train smarter. The best protocol isn’t the most sophisticated—it’s the one you’ll actually perform regularly. Start simple, stay consistent, and watch your anaerobic threshold climb as your training becomes more targeted and effective. Your next breakthrough might not require a lab coat—just commitment to measuring what matters.